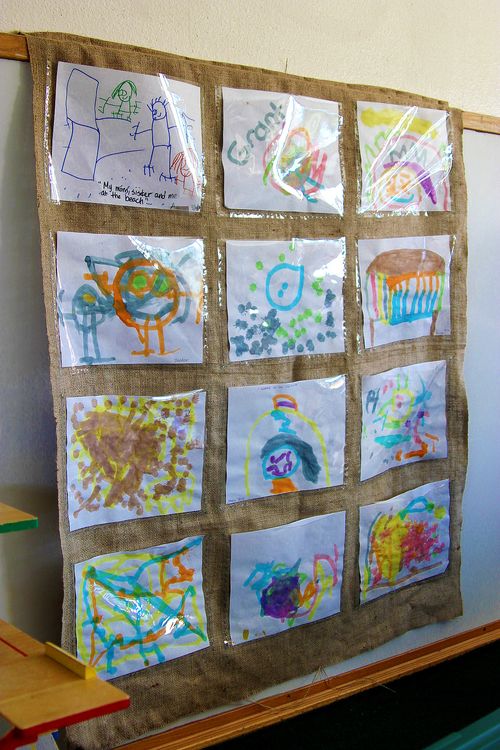
This is a very simple, yet effective way to display kids artwork, whether it be at home or school.
The twins preschool teacher asked me to put this one together a couple of weeks ago. These pockets are perfect not only for displaying paintings and drawings on paper, but also for holding other artwork such as decorated paper plates, puppets, pasta or beaded jewelery, and small clay creations to name a few.
Materials:
A large piece of burlap
Clear Vinyl
Embroidery thread and a needle.
To make:
Lay a standard sheet (8.5 x 11) of paper over the vinyl. Rule about 1cm extra around each side and cut out. Use this as your stencil.
When you have cut out enough vinyl rectangles to fill the Burlap, lay each piece of vinyl down and mark the corners with a fabric marker so you don't lose their positioning as you are sewing.
Using embroidery thread and a needle stitch the sides and bottom of each piece of vinyl to the burlap. The seam should be approx 5mm. This will allow a little extra room for projects that have items stuck to the paper.
Tip: Make a narrower one of these to hang on the back of your kids playroom or bedroom door to display their artwork as they bring it home. A couple of eyelets at the top will enable you to hang it on small hooks.
This post linked to:
As seen on:
Crafty Crow … Home School Parent … The Homeschool Learning Lane … Genuine mudpie … Teach Preschool


Hi Tonya!
You have some amazing ideas 🙂 Thanks for sharing these!!
Cheena