
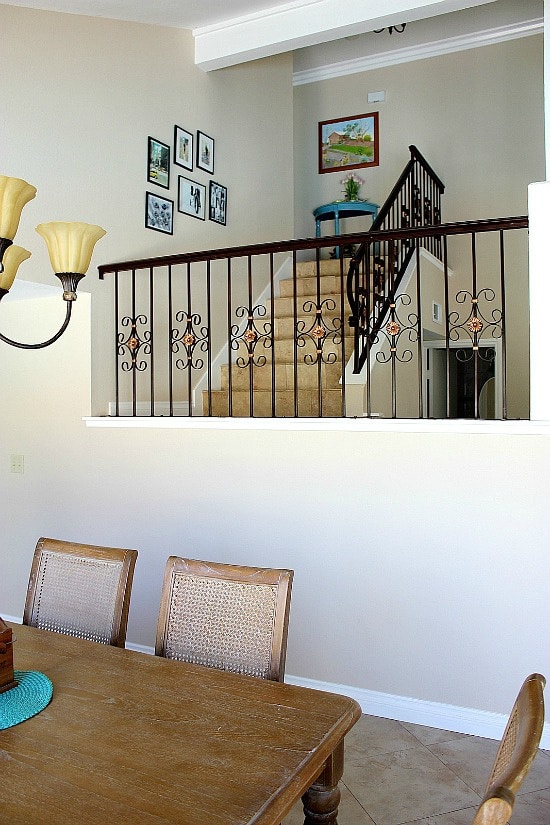
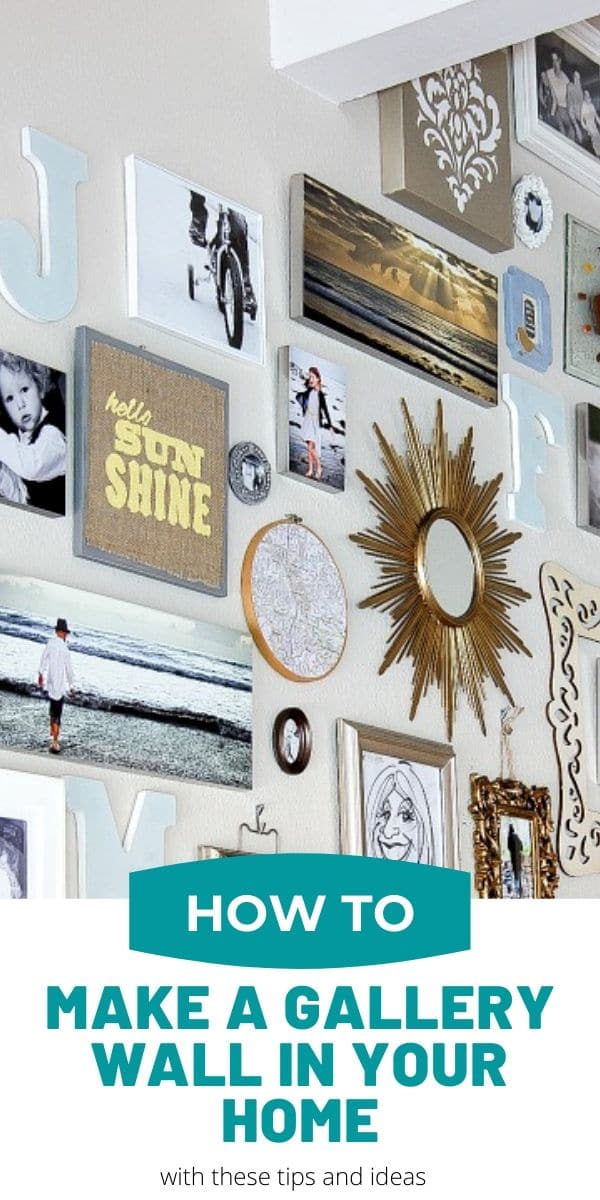
Put together a gallery wall of your favorite art, photos, and home decor along your staircase with these easy tips and ideas.
Disclosure: This post was sponsored by HP
Last week I shared with you a few gallery walls I put together in our home. When HP contacted me about creating another one I wanted to do one on a larger scale. My office and garage had boxes of blank canvasses, empty frames, and assorted pieces I have wanted to hang on the walls forever.
This wall took quite a bit of planning. If you saw one of my DIY posts from back in 2011, you can see what the wall looked like before. I had initially planned on doing a lot of black frames with primarily black and white images. I never finished it though because it just wasn’t working for me.
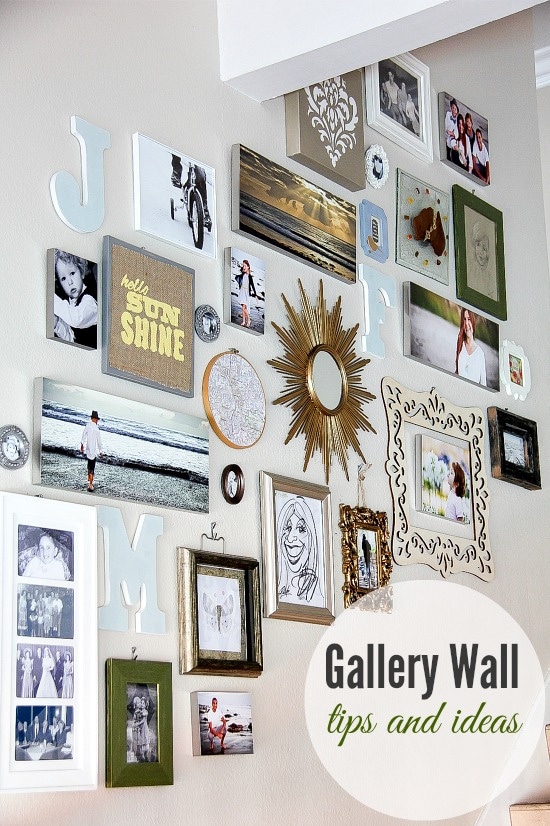
HP photo wall decor
The first step was to get my favorite photographs off the computer and order HP Photo Wall Décor. This was the easiest step … aside from choosing the photographs of course. There are a lot of options and sizes available and all are ordered through Walmart Photo. Thankfully the 8 I ordered were available for same-day pickup – 5×7, 8×10, and 8×20. If you don’t know me, I’m incredibly impatient especially once I get into a project, I want to finish it right away.
The 8×20 photo décor (the photo of me below), is my favorite size. I want to eventually decorate another wall above a table with a series of these. What I loved most about this is it automatically crops your photo to the correct size, but you can move it around to get the photo just right before saving.
I especially love the one of Marisol attempting to blow out the white agapanthus that she thought were giant dandelions.
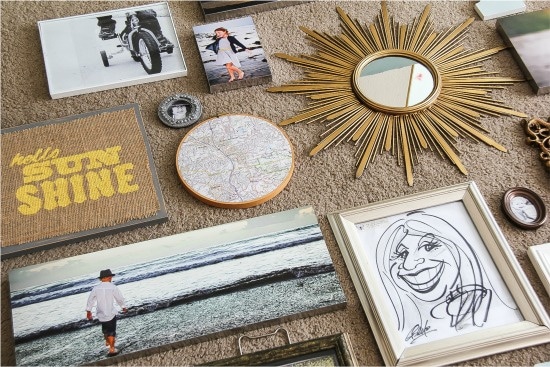
Arranging photos for a gallery wall
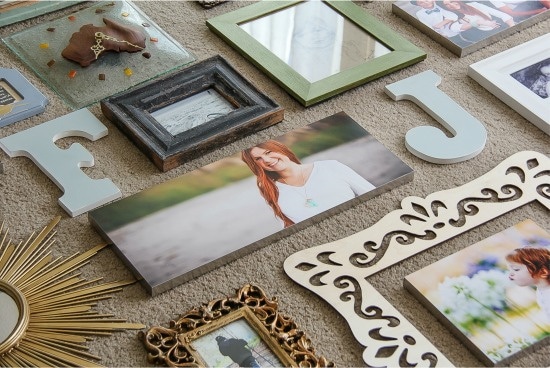
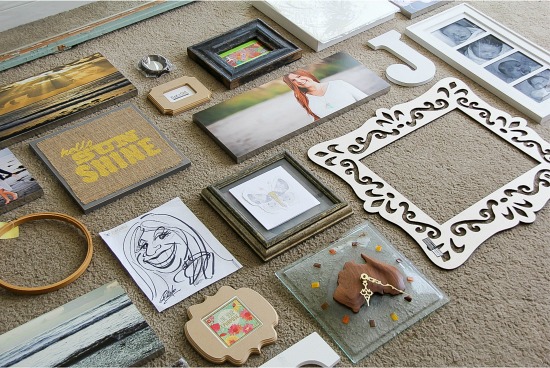
The next step was to measure the wall. From there I lay all of the frames and other items on my bedroom floor – a space that kids wouldn’t be walking over constantly. The next couple of days was spent adding and taking away items, painting frames, and creating new art.
I wanted the color scheme to be gold, white, bronze, wood, blue, and green, which meant painting a few items.
A lot of the pieces I chose have significant meaning for me. My dad handmade the clock, the sketch of me was done at a friend’s 40th birthday and the butterfly image next to it being handmade by that same friend. The ‘Hello Sun Shine’ wood and canvas art was handmade by me during a workshop with Poppy Seed Projects last year at the SNAP Conference.
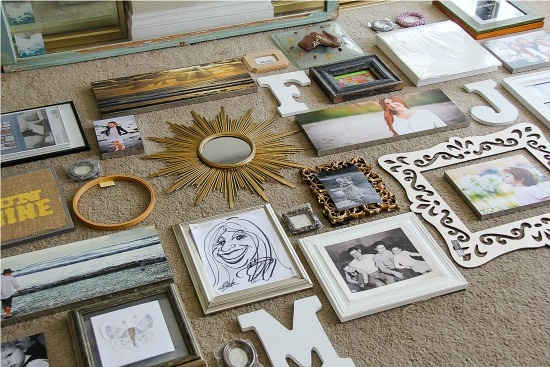
The final touch was adding a map (that has significant meaning to me) inside the embroidery hoop I’d picked up at a thrift store.
After measuring the width and height of the pieces on the floor and making sure it fit perfectly on the wall, I could hang everything. I began in the center, working my way out and it came together perfectly.

Please pin this post for later:

I would like to wake up my dining room with HP décor.
The wall in our den just plain needs help. Paneling that is too dark in the room and it makes the wall that isn’t paneled really hard to properly decorate. It is sad!
This is absolutely gorgeous. I have the perfect spot for it in my livingroom.
Love all the walls! We have the perfect complement: hookedonpaint.com and magnetic paint! Picture walls are so easy and no holes or hammers!