For the longest time I wished that I didn't have to just use the PicMonkey collage feature to format images. I had wanted to overlay logos that had a transparent background, overlap photos for infographics and tutorials and add in any custom images from clients wherever I wanted to place them. This frustrated me to no end because although I use Lightroom for editing photographs I'm completely clueless when it comes to design so have always relied on PicMonkey for adding text, fancy borders, overlays and creating collages.
I have finally figured it out though, and it's so simple to do in PicMonkey (I can't believe it took me this long to figure this out), and so wanted to share for others, like me, who wanted to do these things but didn't know how.
Let's start with adding your own photo overlays.
For this tutorial I'm going to show you how to do it to update your Facebook fan page header photo. Of course though, the same thing applies to making pinnable images, infographics, or whatever else you are trying to make using multiple photographs and design elements.
Step 1:
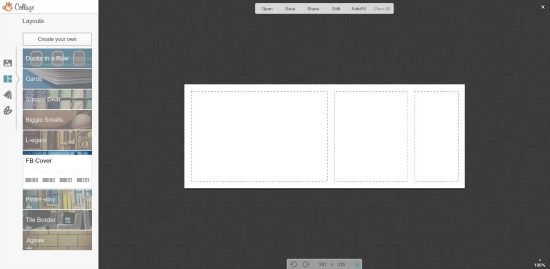
Thanks to PicMonkey there is already a super easy to use Facebook layout in their 'Collage' area, that's already sized for upload. Open it up.
Step 2:
If you want to change the background color, go right ahead (see further below on adding your own color codes).
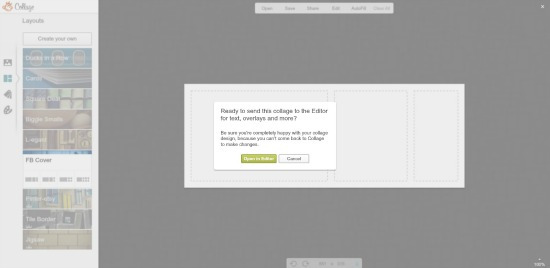
Click on the 'Edit' button at the top to send the layout directly into the editor for adding text and overlays.
Step 3:
The beauty of using overlays to add your own photographs, design elements and logos instead of adding them straight into the layout in collage mode is that you can not only move them around, but you can resize them, tilt them and even erase portions of them if you need to.
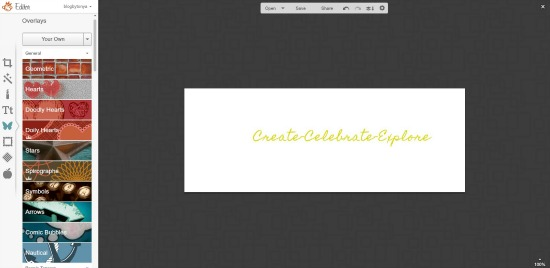
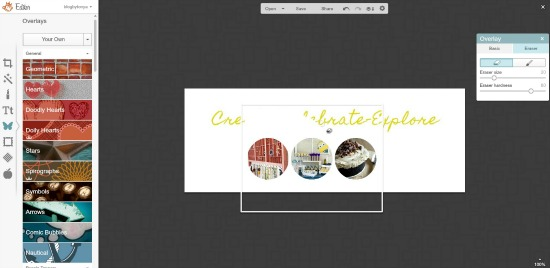
So, for example, I knew that I wanted to add an image of my blog logo which I had saved on my hard drive. In the editor, click on the 'overlay's tab on the left (it looks like a butterfly). At the very top you'll see a button titled 'your own'. Click on it and upload a photograph from your hard drive. It's that easy.
Add in any other images you like – re-size them, move them around and play with them until you get everything laid out the way you want it.
Now, let's say you have an image that has a white background, is not transparent and is covering over another image. Erase what you need by clicking on the 'eraser' tool. If you erase too much, you can re-do it by clicking on the paintbrush next to it.
As you can see in the image above, the picture image was covering my logo a little – I actually re-sized this for the final layout, but for the purpose of showing you how to use this handy little tool, I left it in it's original format. You can erase any image overlay.
Step 4:
If you want to add text, or other overlays that you can change colors of, but you your blog, or your clients logo has a very specific color code, it's simple to grab it and add it in.
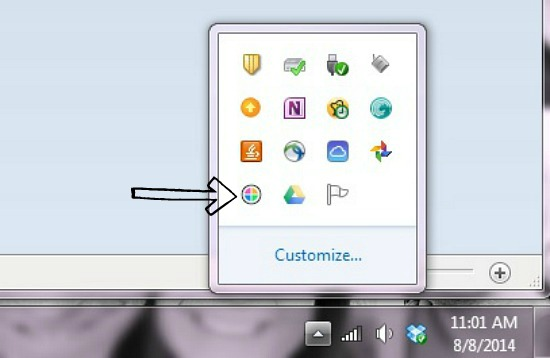
I have a very handy tool on my hard drive called Instant Eyedropper. See the little color wheel below? Download it and then hold your cursor over it and move it around on your website, you'll see the color code for every color you need. Simply keep a record of the color code and you can manually add that into overlays and for text in PicMonkey. I'll show you how in just a minute.
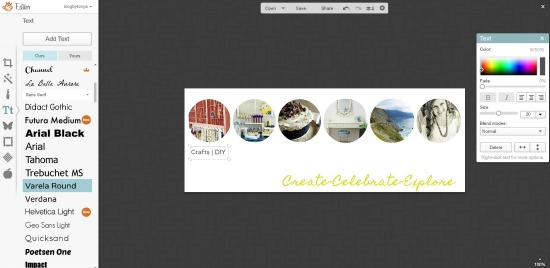
As I mentioned, I am making a new Facebook cover photo so I wanted the colors to be the exact same ones that I use on my blog. In the image below I've created a text box. I wanted the grey to be the same shade I already use, so in the text pop-up box above all of those pretty colors you will see a color code on the right hand side. Highlight it and change it to whatever color code you want.
It's really that easy.
This was the final Facebook cover photo layout I ended up with.
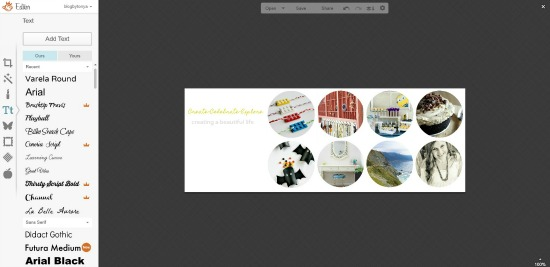
I've managed to customize it for my Google+ page too – the dimensions for creating a Google+ banner are 2120 x 1192. So in collage mode in Picmonkey, you would adjust the size of a collage to that specific size before sending it to editor – or alternatively, I have a blank white photo saved on my hard drive and then just adjust the size of that directly in the editor which makes things a little quicker.
This is how my Google+ banner turned out.
If you are wanting to know how I made the round images, I use Pizap.com.


This is great, Tonya! I’m going to tinker with this and get some cover photos updated.
Brilliant! So many people use Picmonkey but don’t understand all its features. Thanks for posting. 🙂
I use picmonkey and I’ve even SEEN add your own…but never used it. I will now!
Let’s say I want to add text to a picture in PicMonkey, and then modify the for to a specific code (like 9afb6d). How can I do this?
I am typing word vomit. I mean, modify the COLOR to match a specific code 🙂