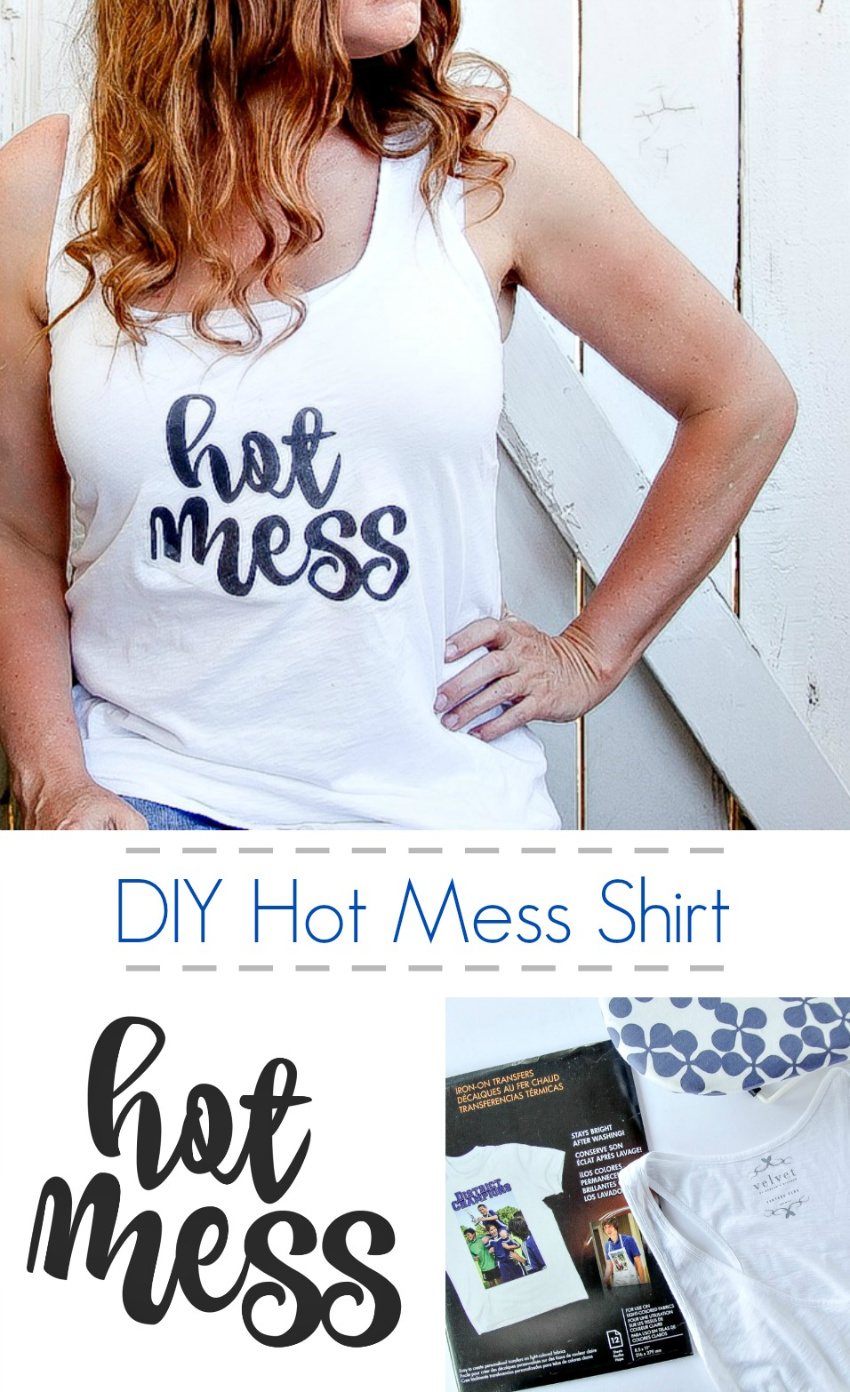
This DIY tshirt transfer hot mess shirt is sure to be a hit in the morning carpool line.
I’ve affectionately referred to myself as a hot mess for the longest time. I can rock a messy bun, with lip gloss, and big sunglasses in the carpool line, while wearing pajamas, with the best of them.
And so with that the idea of a ‘hot mess’ shirt came to fruition.
Note: This project was originally created for Hewlett Packard’s MyPrintly website however that site is currently offline. You can still find some of the MyPrintly projects on the HP YouTube channel.
I affectionately refer to myself as a hot mess on a regular basis. Between taking the kids to school in my pj’s, to sometimes picking them up in the same pj’s as I drive through the carpool, to days where I like to think that messy buns are hip, and nights spent in my comfy pants. So I made a shirt to reflect how I often feel.
Follow the directions below and make one too.
What You Need To Make A Hot Mess Shirt
- Hot Mess Logo (Download)
- White shirt
- Printer
- Pillow case
- Iron
- HP Iron-On Transfers
- Scissors
How To Make A Hot Mess Shirt
- Download and print the Hot Mess printable (Download) onto the HP Iron-On Transfer paper. Note: I’ve already created the printable as a mirror image, so just go ahead and print it.
- Iron your shirt to get out any wrinkles.
- Trim the transfer paper close to the logo and place the design face down on the t-shirt.
- Iron the design onto the shirt for about 45 seconds (follow the instructions on the Iron-On Transfer paper package). Note: the iron should be on the highest, steam-free setting and should be allowed to pre-heat first.
- Allow the shirt to cool for one minute.
- Peel the transfer paper off of the design.
- And you are ready for carpool, lazy nights at home, and trips to the grocery store.
Please pin this post for later:


