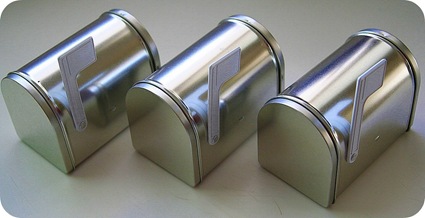
I found the cutest little letterboxes in the $1 section at Target a few days ago.
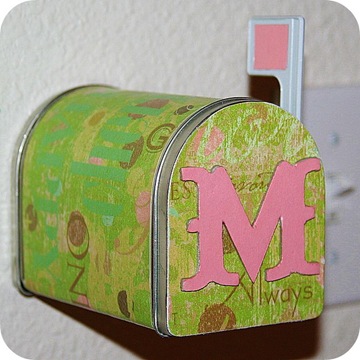
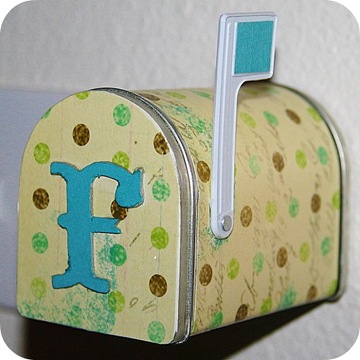
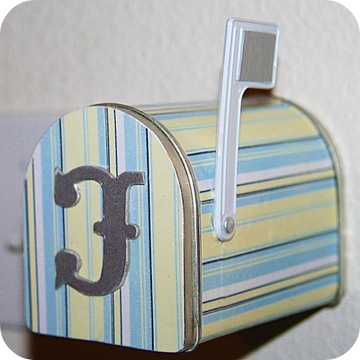
They were in amongst the Valentine's Day specials. These shouldn't just be for Valentine's Day though. I decided to decorate them for the kids bedrooms. I've hung them right inside their doors next to the light switches so I can leave little 'love' notes and special treats in there occasionally. I can raise the little flag when they have 'mail' and lower it when they don't. Yes I'm a big sap.
What you will need:
- letterboxes – available for $1 from Target
- scrapbook paper
- mod podge
- sponge mod podge applicator and paintbrush
- chipboard letters
- fine sandpaper
How to make:
1. Measure around the main body and the width of the letterbox and cut scrapbook paper to fit. You will need to cut a slit and a hole to fit the section where the flag is joined.
2. Using mod podge attach the paper to the letterbox. Once dry, put another layer of mod podge over the top.
3. For the front of the mail box, place the cover face down on the back side of the paper and trace around it. Again, cut out and using mod podge attach it.
4. Using the sand paper gently go around the edges to smooth out the cut edges.
5. Take a chipboard letter and put it face down on a different color paper. As per instruction 3 trace around it and use mod podge to attach it to the front of the letterbox.
6. Mod Podge over the top of the front. Use a fine paint brush to get the excess mod podge out of the corners of the letter.
7. Cut two small rectangles to fill the top of the flag and mod podge to attach and over the top.
8. Attach the letterbox to the wall using removable mounting pads.
*UPDATE: For those in the U.S. without a Target in your area. Oriental Trading also sell small tin mailboxes. They are $3.99
As seen on:
One Pretty Thing and The Celebration Shoppe


I saw these and had a similar plan in mind, except I was going to paint mine. Your idea is much better, and so much prettier! Thanks for the directions!
Love this! So, so sweet! Great idea, Tonya 🙂
I just stumbled upon your blog and LOVE it! Thank you for taking the time to share your great ideas. Especially the projects for our little ones. I can’t wait to read some of your earlier posts and discover new gems…Thanks!
I saw those too!!! Great Idea and I just may steal it!!Stop by and visit me soon.Kathy
I bought a couple of these the first day I saw them, I keep thinking I should go buy some more. I haven’t done anything with the ones I have, but they’re just so darn cute!Love what you did with yours!
Those are FANTASTIC!!! Thanks. . .now I need to find some time to head to Target. . .great gift ideas. . .slip a gift card in one of those what cool mail would THAT be???
I just made these, and LOVE them! Thanks for the tutorial.
These are so cute and such a good idea for leaving little treats for the kiddies, well done!
Love these – will have a search for something similar in Oz Land..thanks for the idea!
What are the dimensions? Lovely decorating.Are these still available from Target?
Unfortunately, I haven’t seen these at Target for quite a while. I did find these ones on Amazon though: https://amzn.to/3vVJFlT – they are the cheapest ones, but you could definitely decorate them like I did. They do have plain white ones too that are about $14 each but those get poor reviews.