
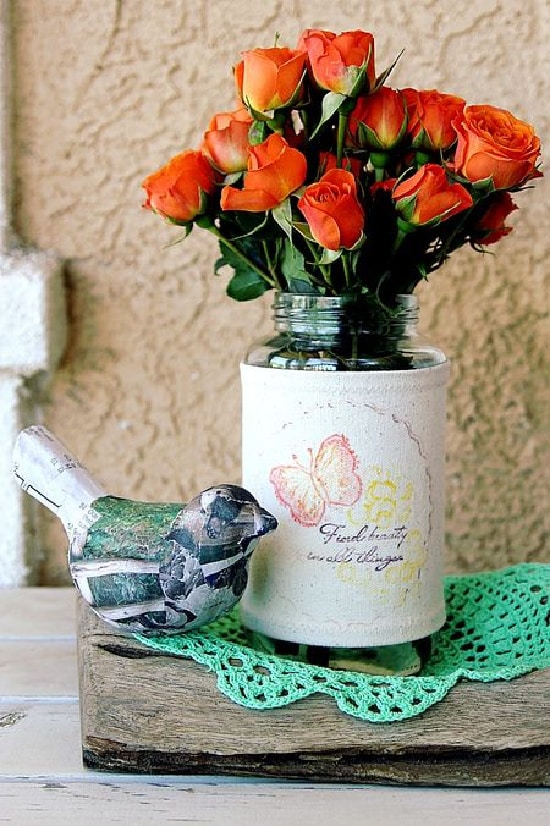
Get creative and make a pretty stamped fabric vase cover that you will want to keep out all of the time. These make wonderful gifts too.
Disclosure: I was provided with the product for the purpose of this review
I recently received some fabulous Faber-Castell Mix & Match products to try out. After days and days of procrastinating as to what I should make with them – and perusing every single page of the design memory craft blog I had an idea while washing dishes. I happened to be washing out a large crushed garlic jar to pop into the recycling bin when I finally had an idea to turn it into a vase and add a fabric vase cover to it.
How to make a stamped fabric vase cover
Supplies
- Vase or glass jar
- Canvas
- Sewing machine (and thread)
- Mix and Match products – see below
- Scissors
The products I received from Faber-Castell were the Mix & Match Mixed Media Sampler and Color Gelatos & Clear Stamp kit.
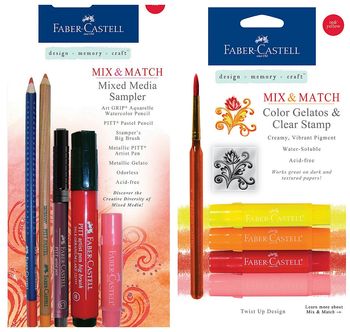
With the various products in the Mix & Match collection, you can create absolutely stunning pieces of work.
Instructions
Step 1
Using a tape measure, take the measurements of your jar and cut out a piece of the canvas allowing an extra 5mm all around for a hem.
Step 2
Choose a clear stamp and attach it to a stampers block. Fill in the detail on the stamp using the Color Gelatos – you can brush over these with water to create a watercolor effect. I used 3 colors on mine: Metallic pink gelato around the outside, orange just inside that, and yellow toward the center of each wing. Stamp onto your canvas.
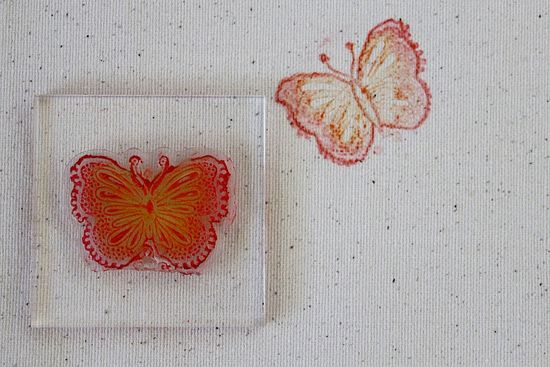
I then used the Art GRIP® Aquarelle Watercolor Pencil in red to highlight the details around the butterfly. These pencils are permanent, but again, if you brush a little water over the top it creates a beautiful watercolor effect.
Step 3
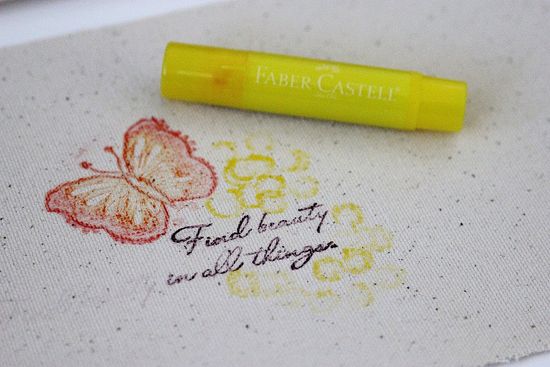
Color over a worded stamp using the Metallic PITT® Artist Pen and stamp just underneath the butterfly. I did this in two stages as the phrase was quite long and I wanted to separate it over two lines.

Step 4
Using a Yellow Gelato in a downright position stamp a few scattered circles around your design.
Step 5
Create a frame around your design using a PITT® Pastel Pencil. Add highlights using the Metallic PITT® Artist Pen.
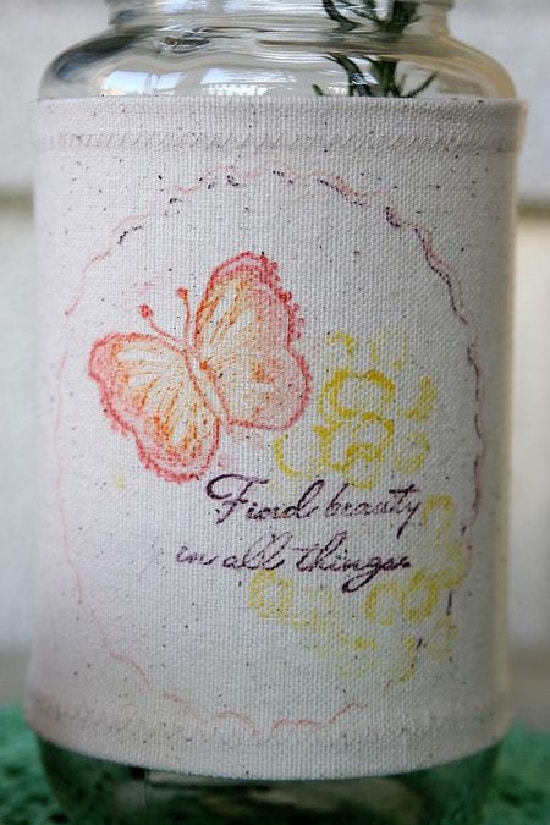
I had a cardboard scrapbooking frame that I used as a stencil to create the frame around my design.
Step 6
Sew hems on the top and bottom of your canvas using a zigzag stitch to prevent fraying. Stitch the open side together using a straight stitch to make a sleeve and very carefully wiggle it down over your jar.
The possibilities truly are endless with these amazing products.
More vase craft ideas
Are you looking for more vase craft ideas? Take a look at these:

I would love to win this, what an unique gift!
[email protected]
Congratulations Sabirah you are a winner of this giveaway. I will be contacting you shortly.