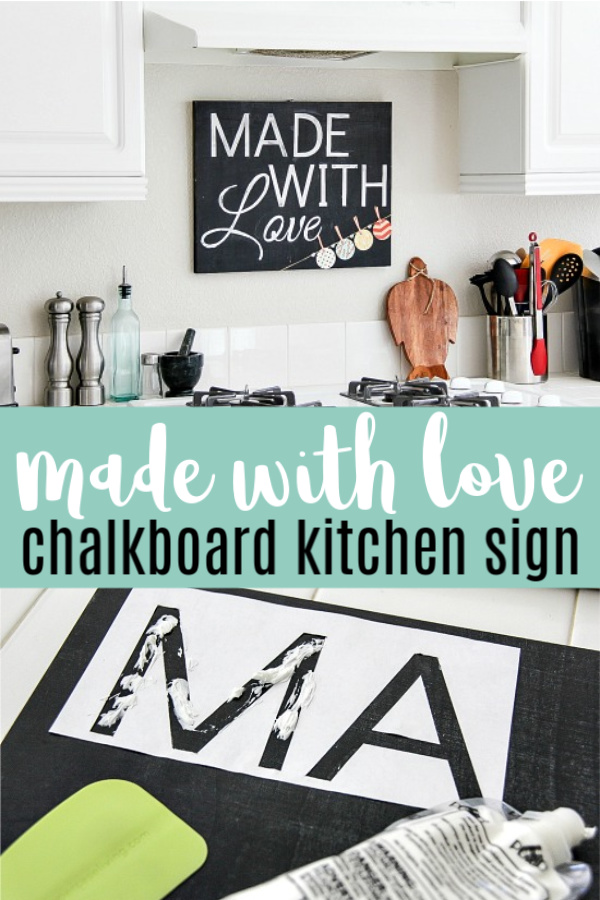
This DIY chalkboard kitchen sign is so easy to make and will let everyone know that whatever you make in the kitchen is made with love.
Disclosure: This project was sponsored by Plaid Crafts as part of a campaign for Blueprint Social
I love a white kitchen. It looks clean and fresh, and with lots of light coming in through the windows, it’s somewhere that I want to cook. But, there is such thing as too much white, there needs to be a pop of color. This one needed a little something to make it feel homier, you know, somewhere that you want to be … that’s welcoming.
So, I made this kitchen sign using Mod Podge Collage Clay.
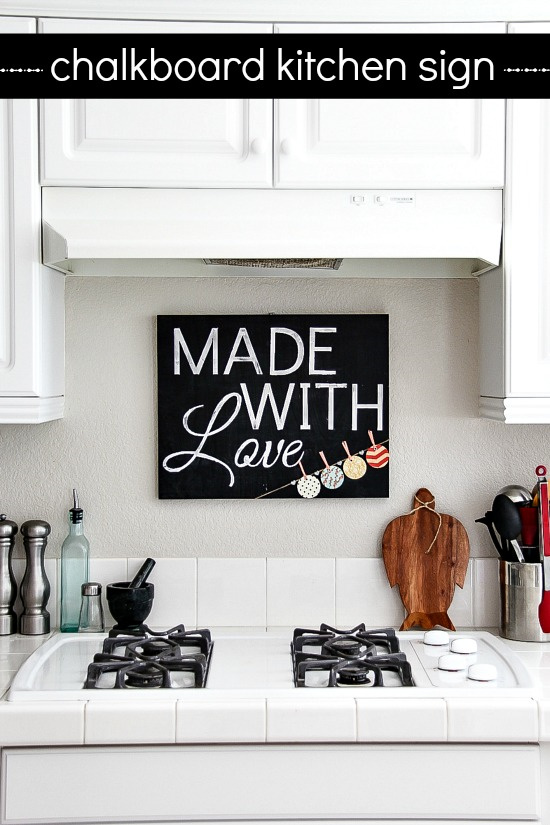
When I’ve completely finished decorating the kitchen I’ll share more photos. It’s a long, slow process though.
For now, I’ll show you how to make this fabulous sign for your own kitchen.
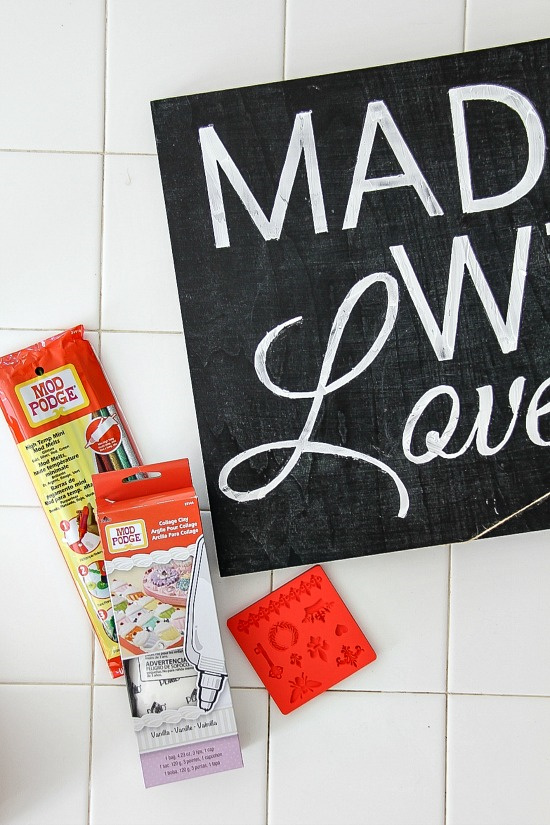
What you need
- Chalkboard – alternatively wood painted with chalkboard paint
- Mod Podge Mod Melts – silver glitter
- Mod Podge Mod Mold – I used the Royal Icons mold (which you may remember from the DIY Crown Headband post).
- Mod Podge Collage Clay – white
- Scrapbook paper, ribbon and twine – you can use whatever you want though to create your own banner
- Stencils – I’m going to show you below how I made my own
- school glue, rubber squeegee, glue gun, X-ACTO knife
Instructions
Begin by creating your stencils. I couldn’t find any that were exactly the right size and font that I wanted, so using PicMonkey I created my own.
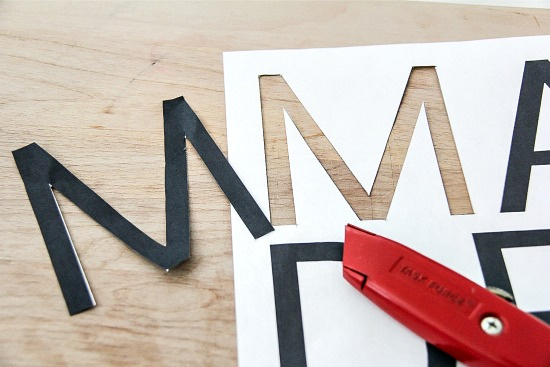
Once you have your stencils cut out, run a little school glue around the edges of each letter and attach it to the chalkboard. This will stop the edges from coming up and tearing as you paint over them.
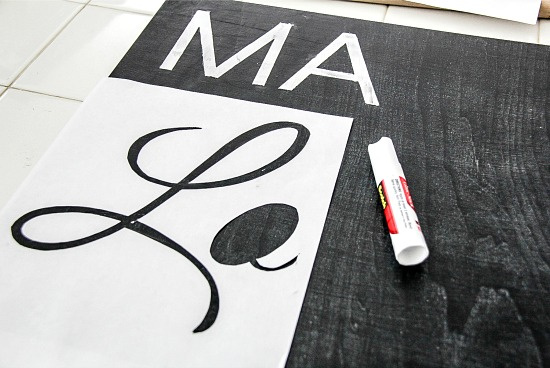
The Mod Podge Collage Clay comes in a dispenser bag with various tips (almost like decorating a cake). You won’t need the extra tips though for this project. Simply squeeze a little out onto the letter and then using a rubber wall sticker application tool spread the Collage Clay across each of the letters.
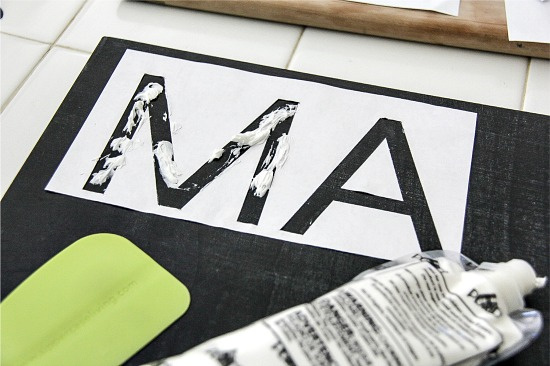
Set the chalkboard aside to dry while you work on the Mod Melts.
Heat up your glue gun and insert the silver glitter Mod Melt. Fill the Mod Mold with the glue and allow to dry, it will only take a few minutes.
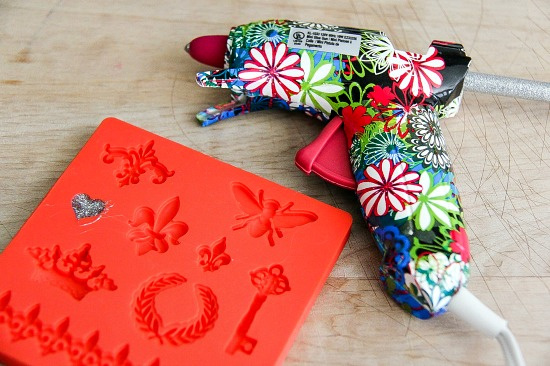
Create a simple banner of twine and scrapbook paper along the bottom corner of your chalkboard. Adhere each piece of paper with the glue gun, and then using a little more hot glue, attach each of the hearts to the banner too.
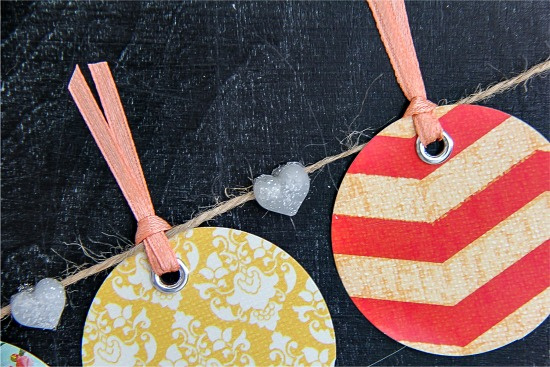
I love how the Mod Podge Collage Clay gives a chalky look, without rubbing off.
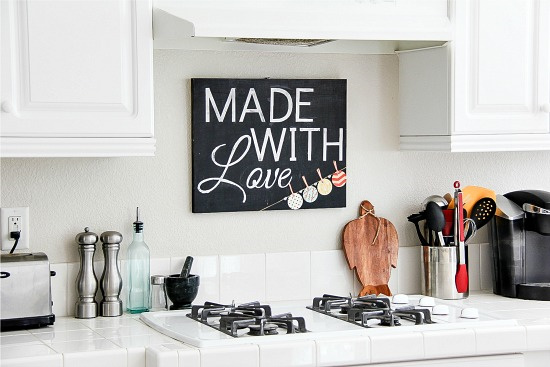
So, after I’d finished the project and had hung it on the wall I heated up leftover flatbreads in the oven for lunch, and promptly burnt them (with love of course).
About Mod Podge products
Decoden is the art of decorating anything with trinkets, and “the more the merrier” is the name of the game in designing an over the top look in this 3D collage technique. Use Collage Clay with Mod Melts, trinkets, buttons, rhinestones, and anything else you can think of!
- Collage Clay: lightweight whipped clay great to use for Decoden, 3D Collage, Assemblage Arts, 3D Stenciling and more. Available in two trend right colors, Vanilla White and Strawberry Pink
- Mod Molds: create embellishments using Mod Melts, made of durable, easy to use silicone
- Mod Melts: Use Mod Melts with Mod Molds to create custom embellishments for craft projects. Use with a high temp mini glue gun.
- Podgeable Glitters: Sparkle projects without the mess or waste package makes it possible to ‘pouf’ the exact amount needed.
- Collage Drizzle Paint: add extra drama and dimension to designs
Please pin this post for later:

3 comments
I love this so much!!! I must make one! I tried to enter the giveaway, but when I clicked on the link, it said runtime error…
I found this on pinterest and fell in love. I’m not sure how to post the pic but I did it and it turned out awesome. Thank you for the inspiration. 😀
We love this! We’ve added it to our guide to gifts for bakers, we’re sure our readers will love it too – https://www.expertlychosen.com/gifts/interests/baking