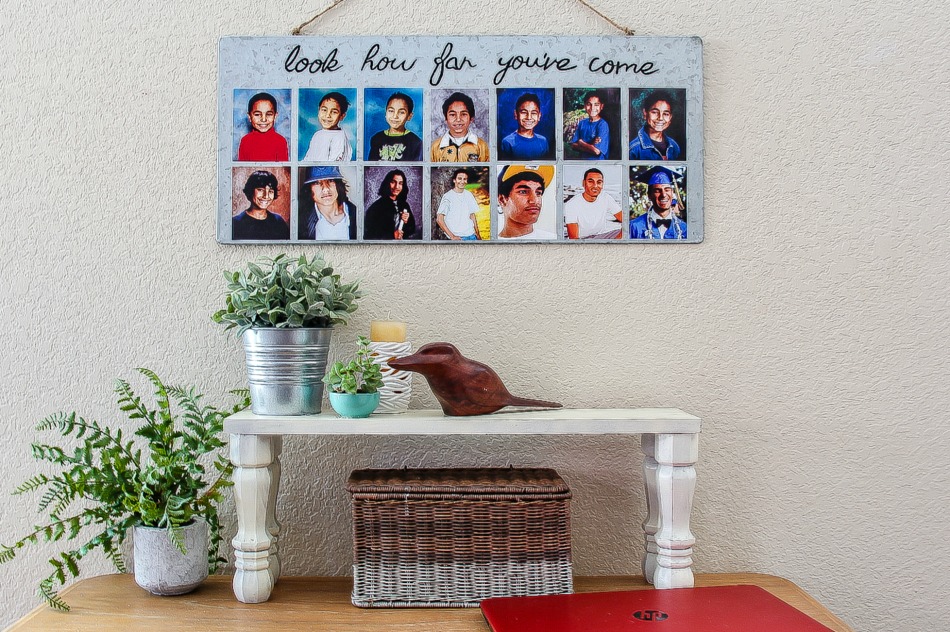
This DIY school years photo frame is the perfect way for kids to hang onto their school memories and school pictures throughout the years.
Jay is this close to being done with college. Now that he’s chosen his career path and finished all of his general ed classes, he’s focused on finishing up the classes he needs to come out with a degree in automotive technology. He’s been so passionate about cars for years, spends hours tinkering away in the garage working on his own, and his friends bring theirs over to work on too. And hey, I’m not going to complain a single bit about having someone in the house who can fix my car for next to nothing for me.
Many, many years ago, my mum put all of my school photos into a frame with a school bus on it and gave it to me. It had every photo from every year, and although I cringe a little when I see some of those photos, it’s also a great memory that I still look at. So, I decided it was past due to make one for Jay, too.
Note: This project was created for Hewlett-Packard’s website, MyPrintly, however, that website is no longer online. You can find videos for MyPrintly projects on my YouTube page.
How to display school photos through the years
Our children have been back in school for a few months now, and fall photographs have been taken. After the holidays, it will be time for spring photos, too. But what do you do with all of those pictures? Whether you order digital copies, printed photo packets in assorted sizes, or you simply take your own photos every year, it’s so easy to put together a school year’s photo frame that you can present to your child after they graduate. My mom made one for me that I still have almost 30 years later.
This frame is simple and inexpensive to make, takes very little time, and you could try different materials too, such as a wood pallet if you don’t want the metal industrial look.
What you need
- HP ENVY Photo 7855
- HP Everyday Photo Paper
- Plain metal or wood frame for hanging
- Paint that will work on the surface you are using
- Paintbrush
- Spray adhesive
Instructions
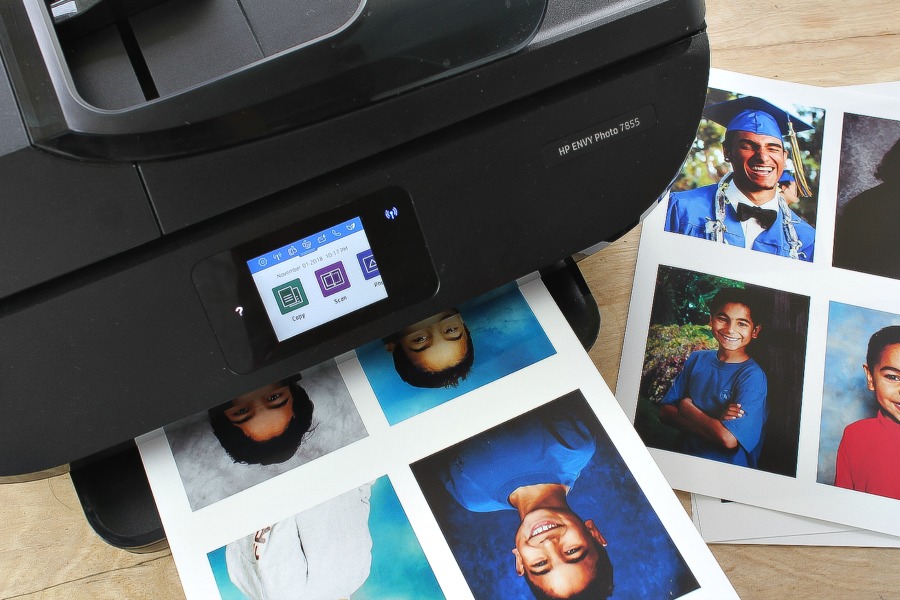
Begin by choosing and printing any photographs that you need to, keeping in mind that you will need them all to be the same size. I made all of mine 3.5 x 5, then printed them 4 to a page using the HP Everyday Photo Paper on my HP ENVY Photo 7855 printer.
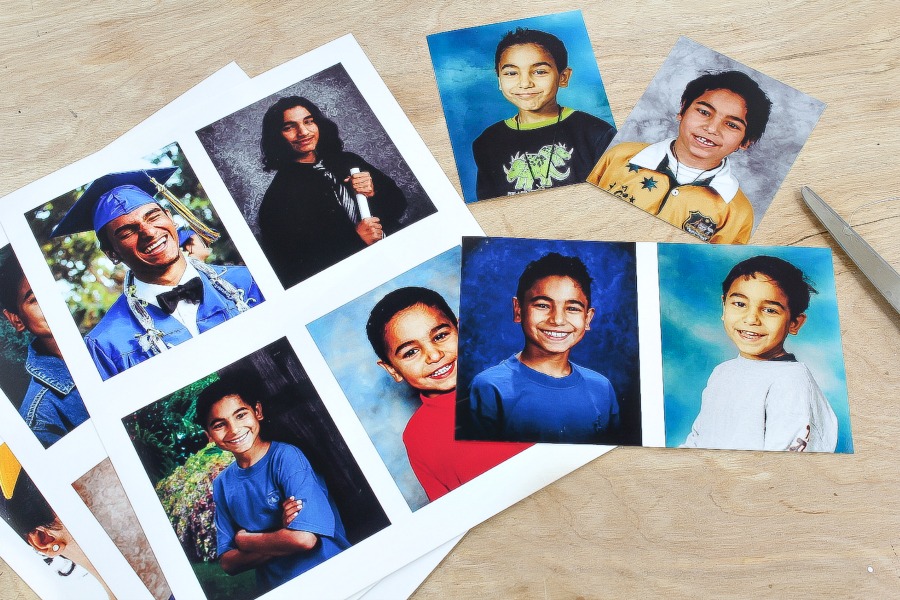
Trim all of your photos, and then lay them out on your frame until you are happy with the layout.
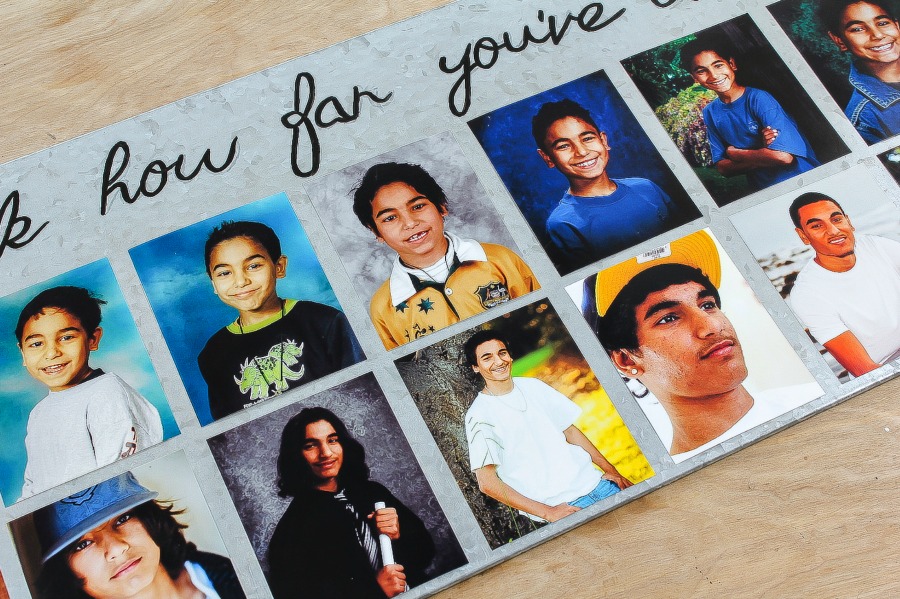
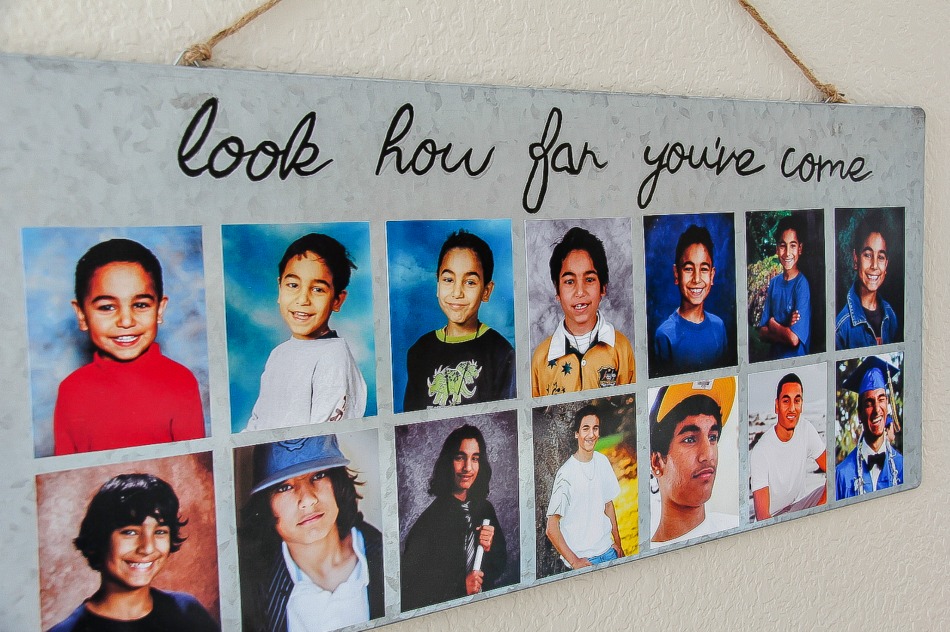
Use either a stencil or freehand text on top of your frame. I wanted mine to be more inspirational than just pointing out that the photos were from school years past (my son is in college now), so I wrote ‘look how far you’ve come’ on the front, and then added the school grades and years on the back.
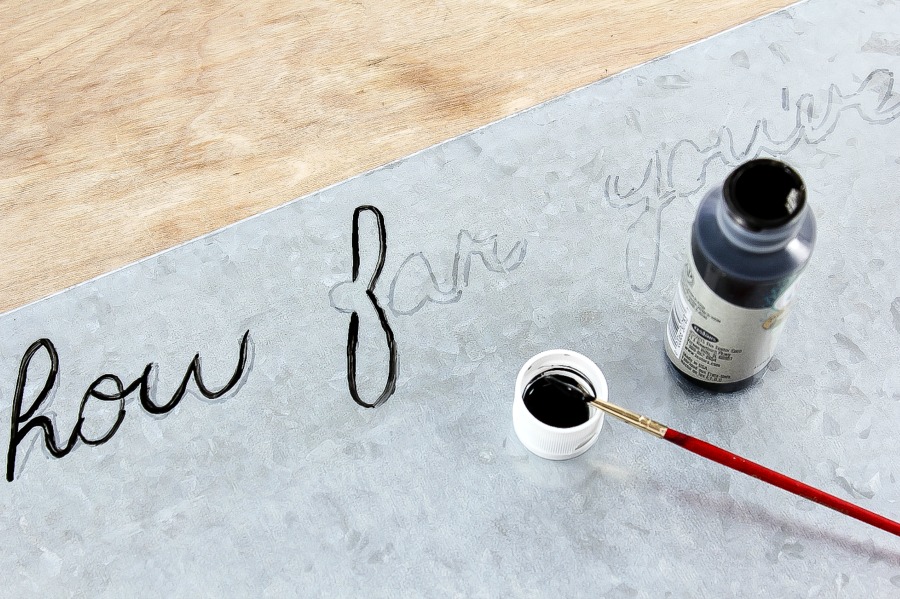
You will need to paint a couple of coats, set aside to dry, and then, using spray adhesive, add your photos to the frame.
Now they’ll have these wonderful memories for years to come that they can show their own children one day.
Graduation gift ideas
If you are looking for other graduation gift ideas for your high school or college student, they will love these.