
We love melting crayons that are broken to create fun new shapes. We show you how easy it is to use silicone molds to melt crayons.
Note: I previously created this craft for the website Rusty and Rosy, however, that website is now offline.
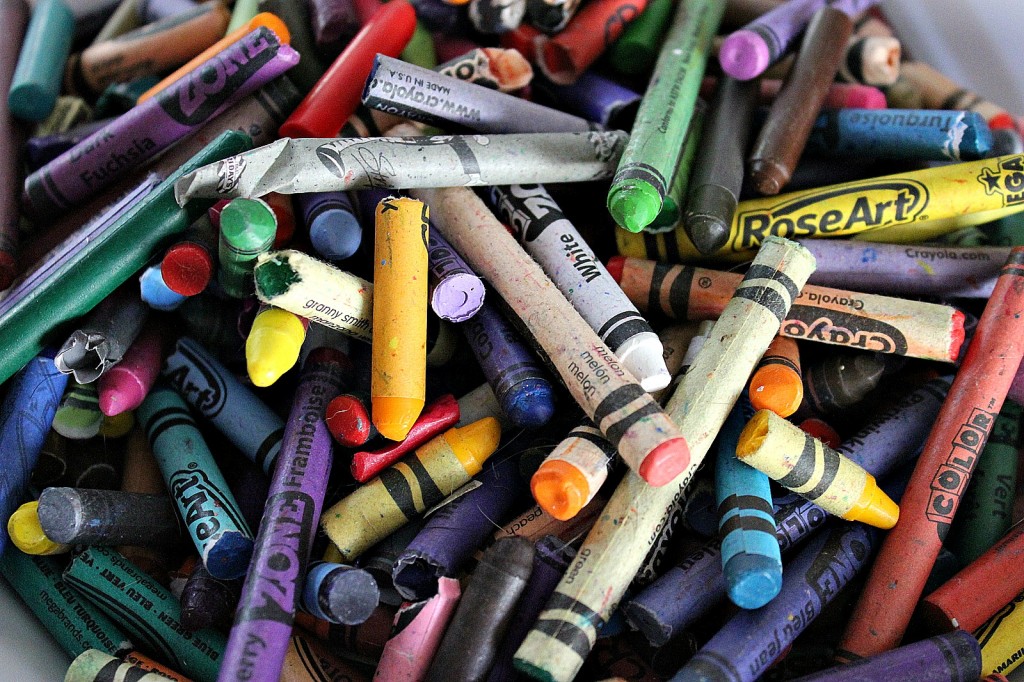
I’m not sure how it happens, but the majority of the crayons that enter our house end up broken in half within a matter of days. I regularly recycle our crayons to make brand new ones and the kids are old enough that they are able to help.
Crayons melted in oven
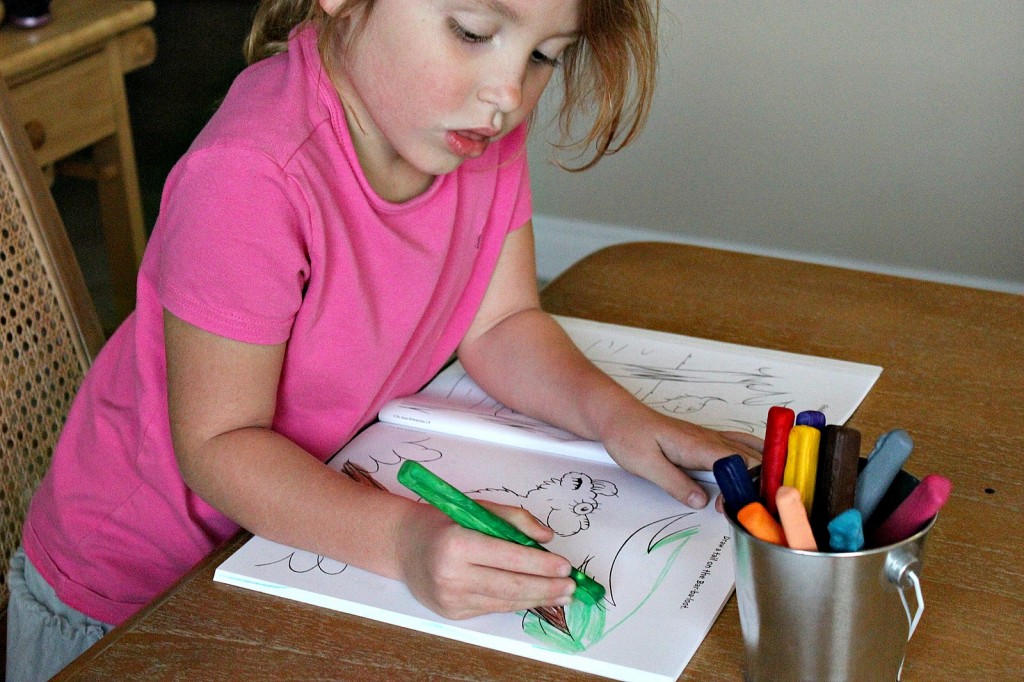
This is a great learning experience for kids. Not only do they get to learn about recycling, but they get to learn a craft, and gain experience in the kitchen at the same time. The reward at the end is brand new crayons for completing their favorite art projects and school homework.
What you need
- Oven
- Silicone baking cups
- Silicone mold – get creative and use different shaped molds
- Broken crayons
Instructions for melting crayons
Heat your oven to 225F.
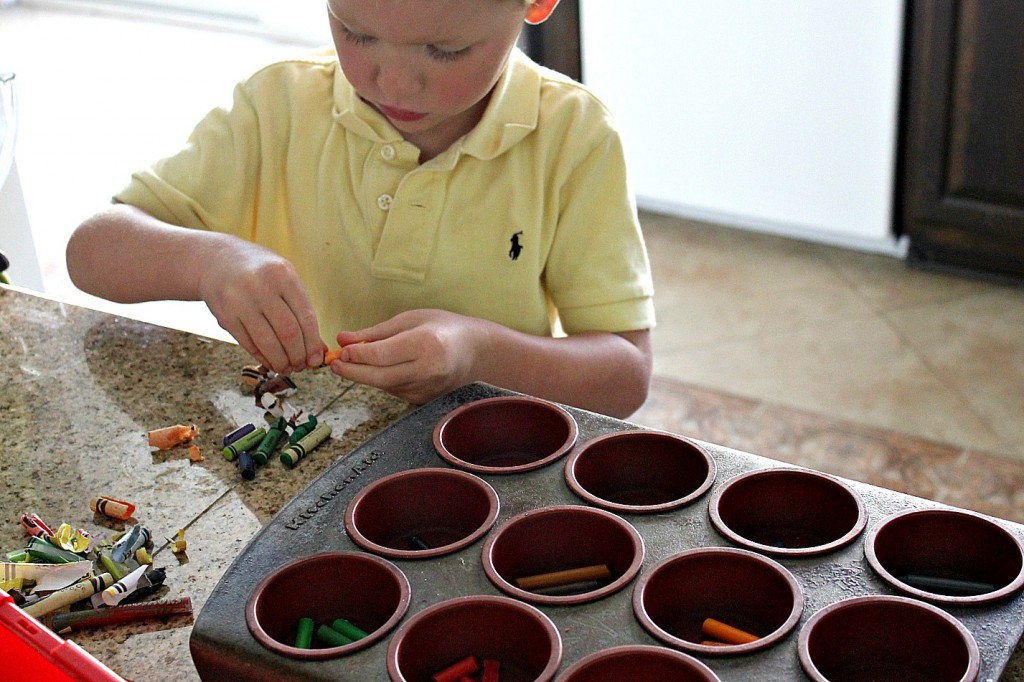
While the oven is heating, have your child remove the wrappers from each broken crayon. This is a great activity for them to sort and match colors. Have them fill each baking cup with different color crayon pieces. They will find that they have different shades of green, blue, and purple, and will love to see what shade they become once they are melted and mixed together.
Once each baking cup is about 3/4 full pop them into the oven for approximately 20 minutes. Depending on your oven this may take a little longer or may be done quicker. Keep an eye on the melting crayons. It is okay to have some small pieces that have not melted, but the majority should have turned to liquid.
Once you remove your melted crayons from the oven you will have to move quickly, but carefully. The baking cups will be hot, but the crayons will thicken quickly as they cool.
Carefully pour the melted crayon into your ice cube tray. Place it carefully in the freezer until each crayon is set.
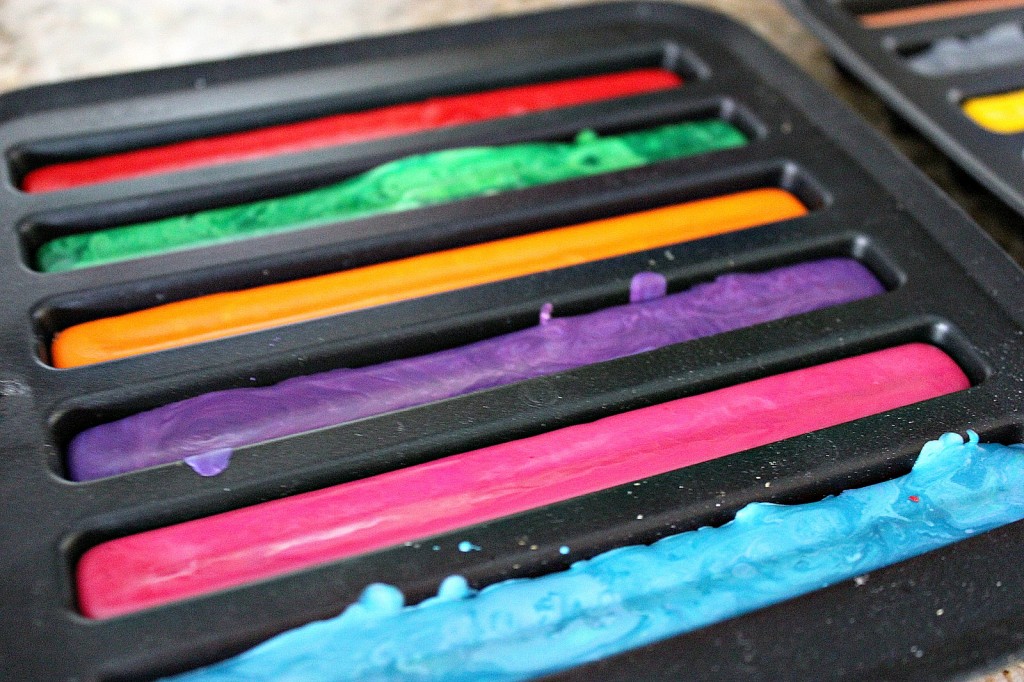
Once set slowly release the crayon from the ice cube tray. It’s not going to slip straight out, you will need to work the sides away from the crayon a little, but work slowly and carefully so you don’t break the new crayons.
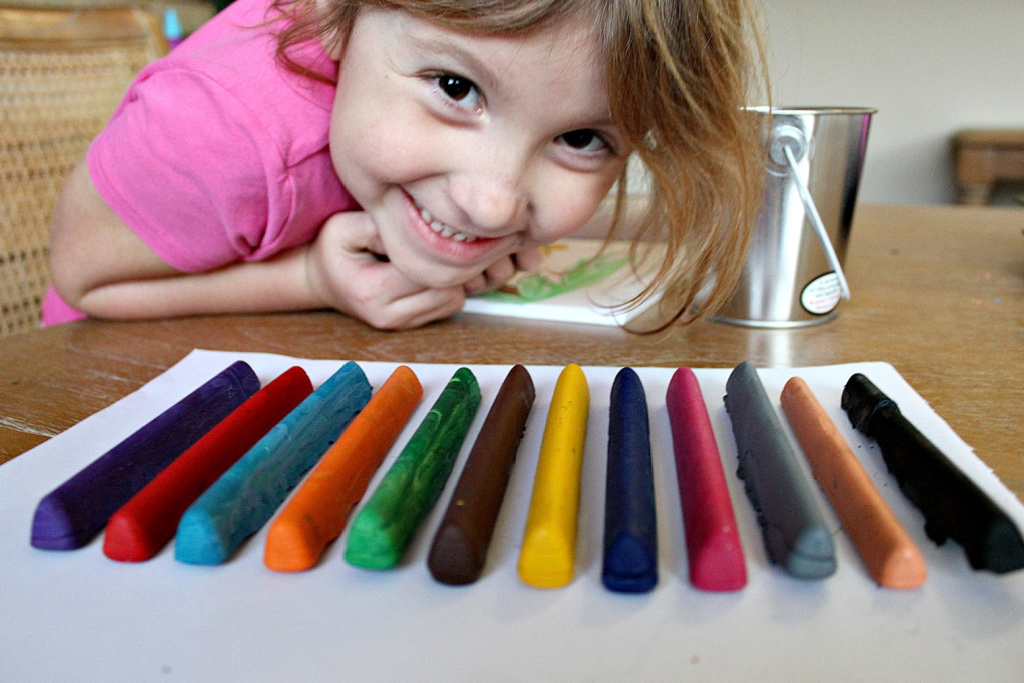
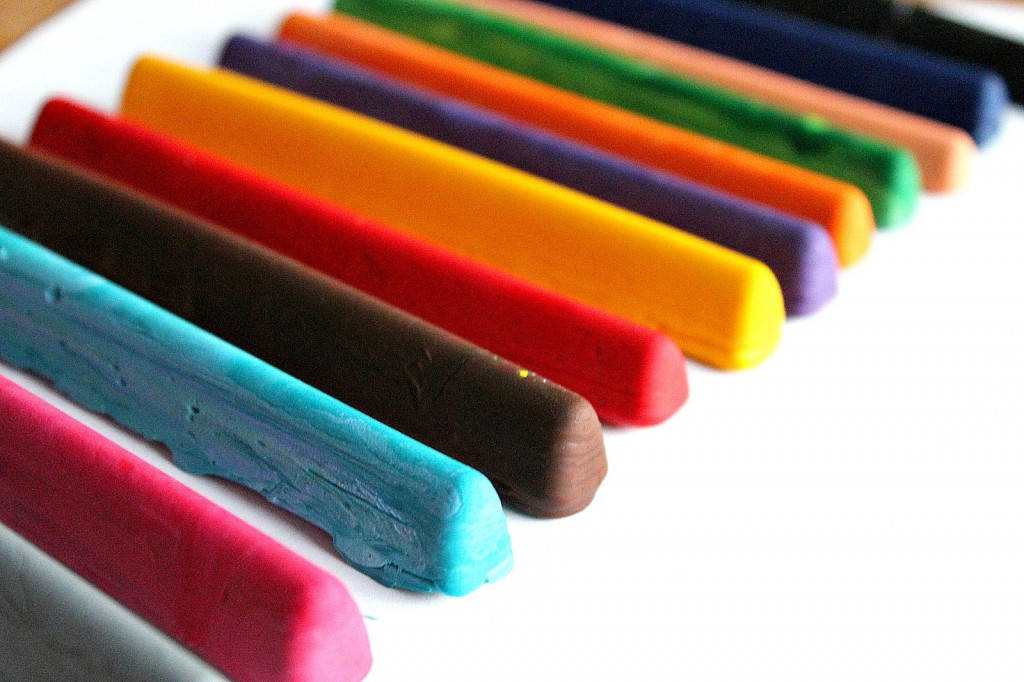
The end result will be fabulous, and the kids will love having these new larger, thicker crayons that won’t break as easily to complete their beautiful art projects.
More crayon crafts with kids
If you are looking for more fun crayons crafts to do with the kids check out these:
- Use fabric crayons to create a new look
- Do bark, leaf, and pine needle rubbings with crayons
- Make homemade candles using crayons
- Non-candy Halloween ideas for kids
Please pin this post for later

Thanks Nat, I got these ones at Ikea a couple of weeks ago.
Just left a comment over at Rusty & Rosy. These are awesome and I’d love to know where you got the ice molds- they are so cool!