
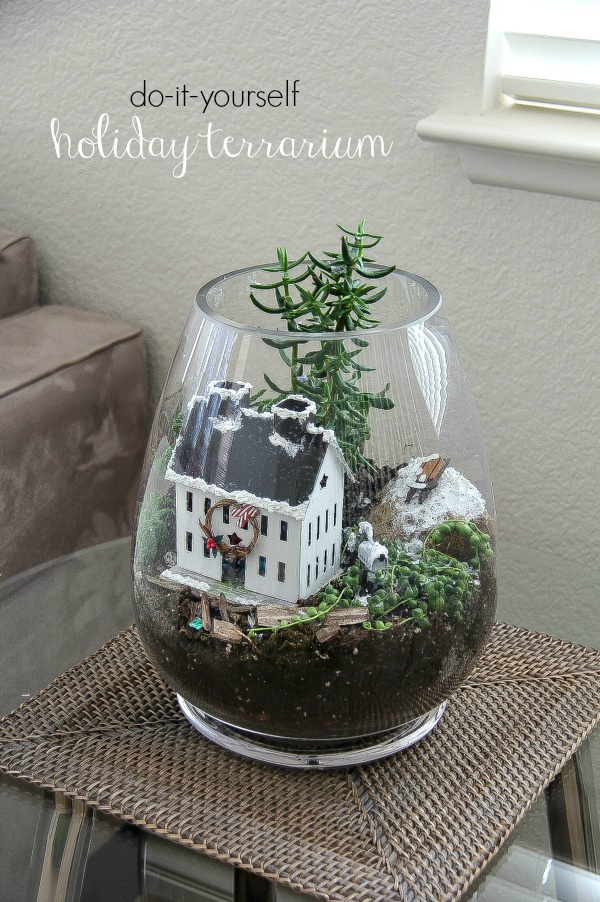
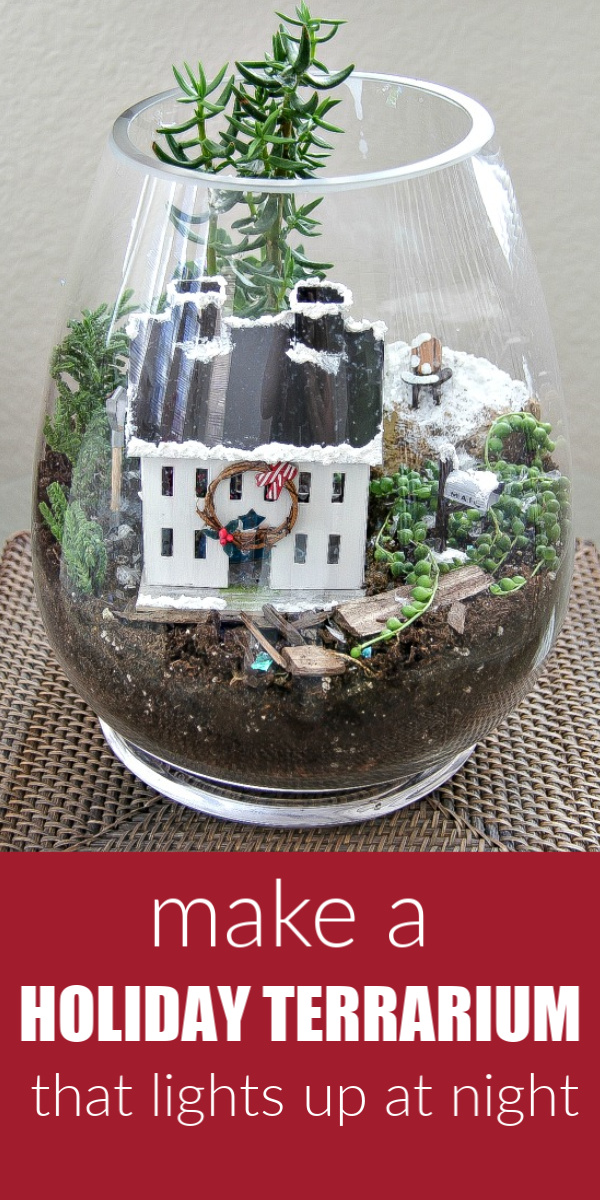
This DIY holiday terrarium lights up with battery operated lights you can switch off during the day. It’s the perfect addition to your holiday decor.
Disclosure: This post has been sponsored by Consumer Crafts. #HandmadeHoliday14
This fun DIY holiday terrarium is made using craft supplies I picked up from Consumer Crafts recently.
After the holidays I can remove the little house and replace it with other items for a new season or holiday. I can already imagine bunnies and an egg hunt for Easter.
What you need
- Glass or apothecary jar
- Clay pellets (available from hydroponic stores) – or you can use stones
- Charcoal (aquarium charcoal available at pet stores)
- Potting mix
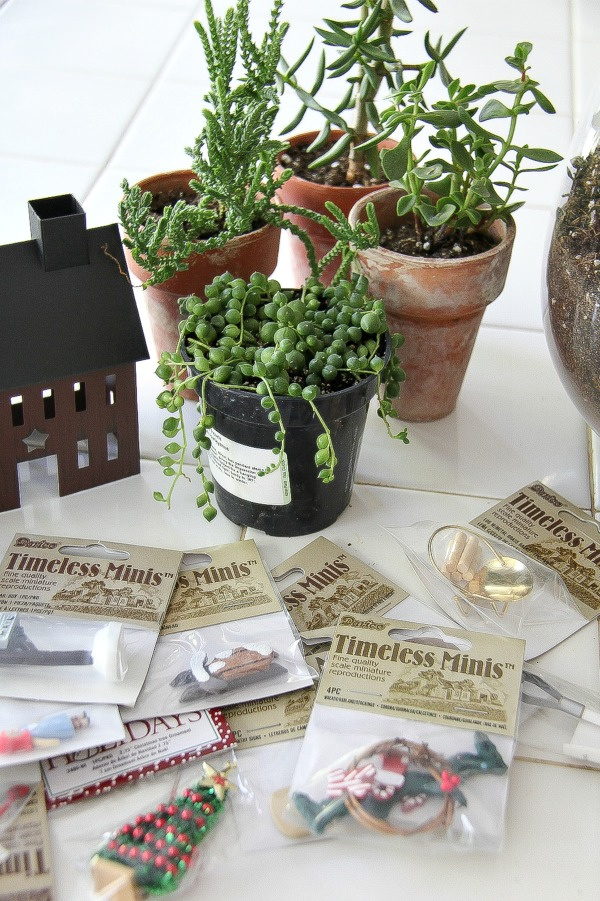
- Succulents
- Tin house
- Darice Timeless Minis – assorted. I used mini dollhouse Christmas decorations, painted mini sled with snow, mini rag doll, mini mailbox, mini trimmed Xmas tree, mini snow shovel, and a mini red wagon.
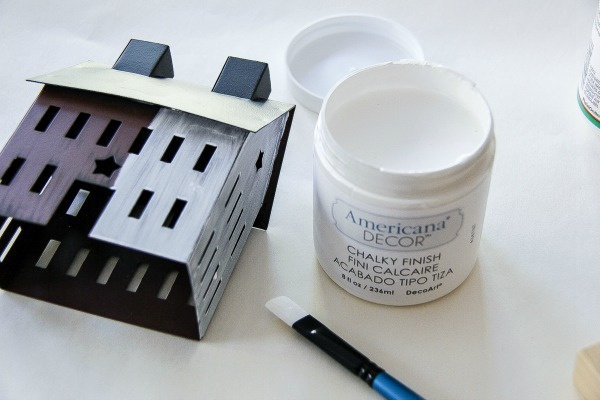
- Americana Decor Chalky Finish Paint: gray, teal blue, spruce green, and white.
- DecoArt Snow-Tex
- Artificial snowflakes – iridescent
- Mod Podge waterproof sealer
- E-6000 adhesive
- Darice round and flat brushes
- Wood mini block and a small piece of plywood
- X-ACTO knife
- Rocks and bark chips – which I grabbed out of my garden
- Flameless tea light candle
- Double-sided Velcro tab
Instructions
Place a layer of clay pellets across the bottom of the glass container, and then add a thin layer of charcoal on top. Cover with about 3-4 inches of potting soil.
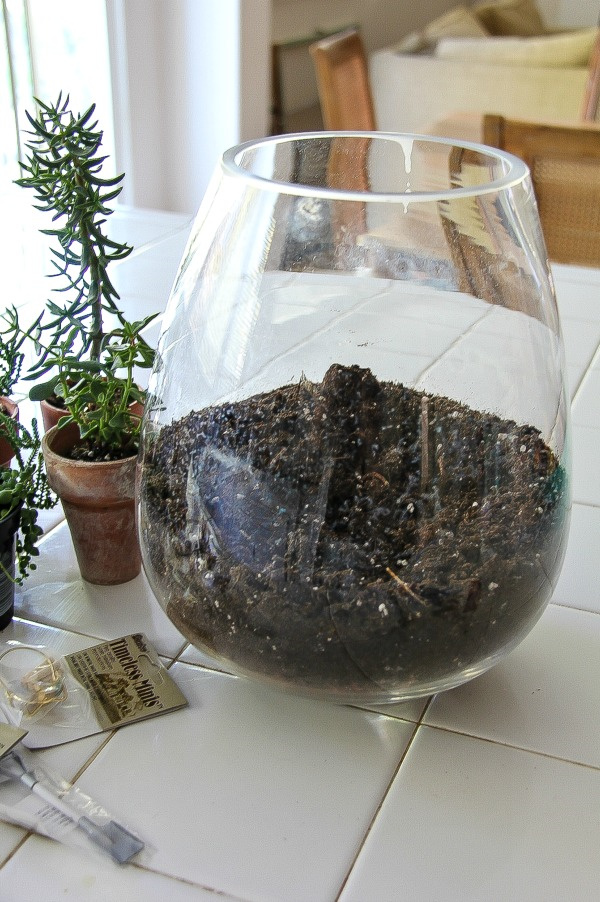
Arrange your plants and miniatures inside the glass. Don’t plant anything though until you know exactly where everything will go.
I didn’t want the house just sitting on the dirt inside the terrarium because I wanted to include minis inside. So, using a small piece of plywood, I cut it a little larger than the house to act as the base.
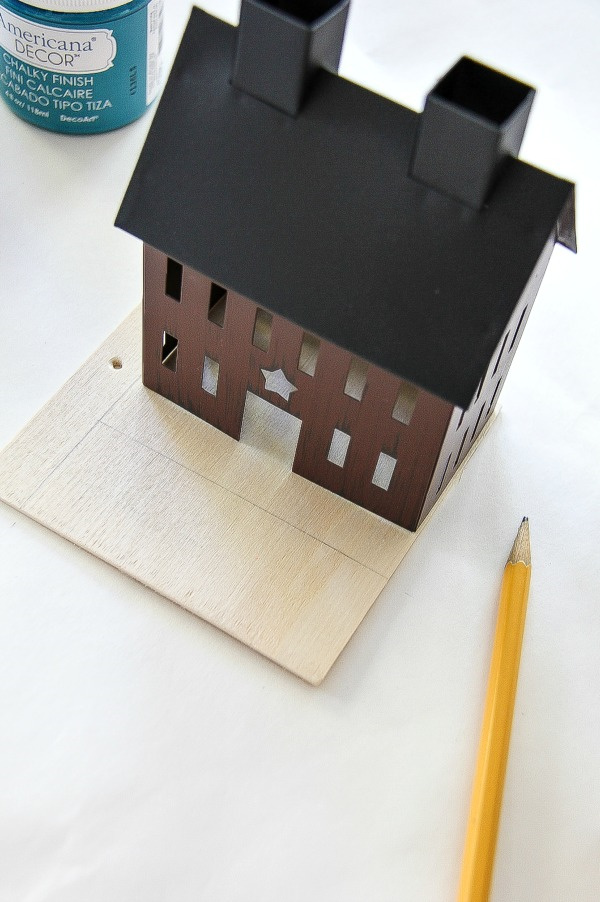
Using the white chalky finish, the brown tin house was painted white, but leaving the roof black.
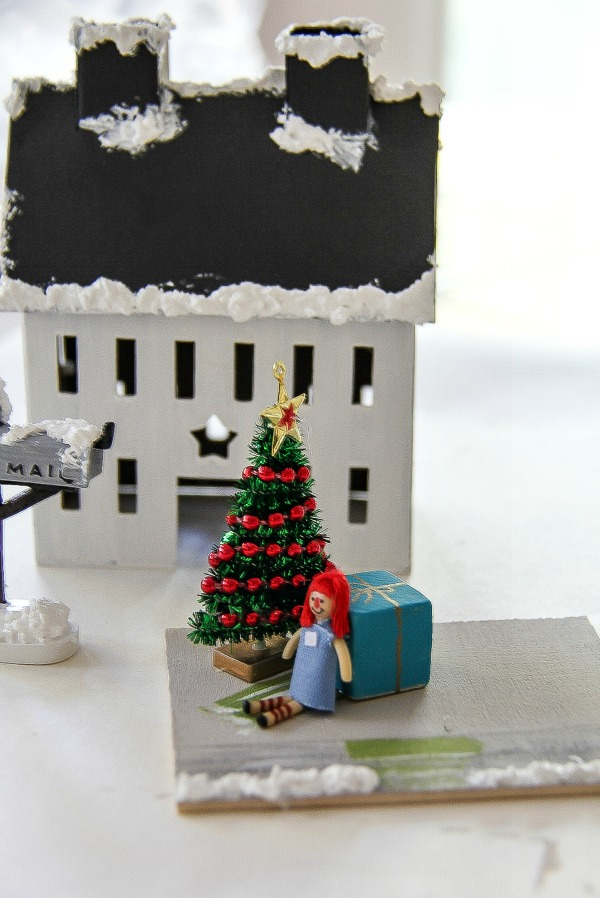
The wood base for the house was painted using the gray chalky finish. Then a little more color added to the front (for the porch) and a rug next to the Christmas tree. A small wood block was painted in teal and a gold Sharpie used to make it look like a present.
Once dry, Mod Podge waterproof sealer was applied to everything, and then the Christmas tree, ragdoll, and wood block were attached to the base.
Using a paintbrush, add DecoArt Snow-Tex to the house, mailbox, wood base, and a large garden rock and set aside to dry for a few hours.
Now it’s time to add your succulents, house, and other miniatures to the terrarium.
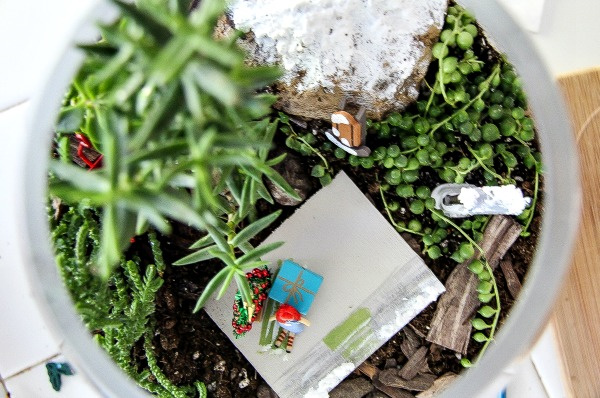
Iridescent fake snow was then sprinkled over the top of everything.
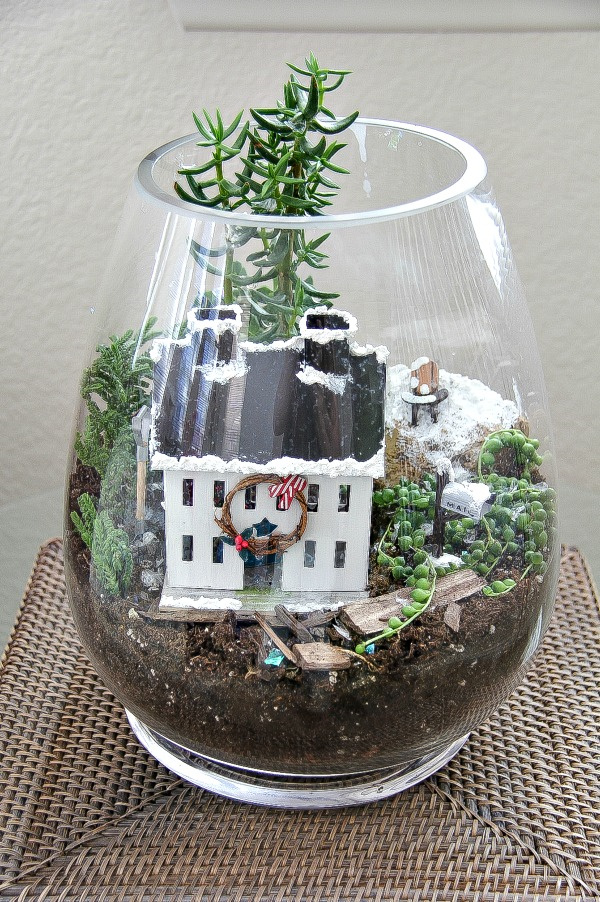
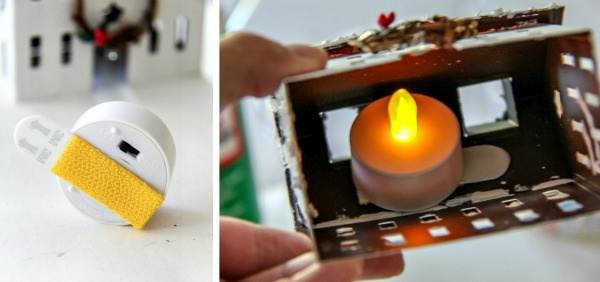
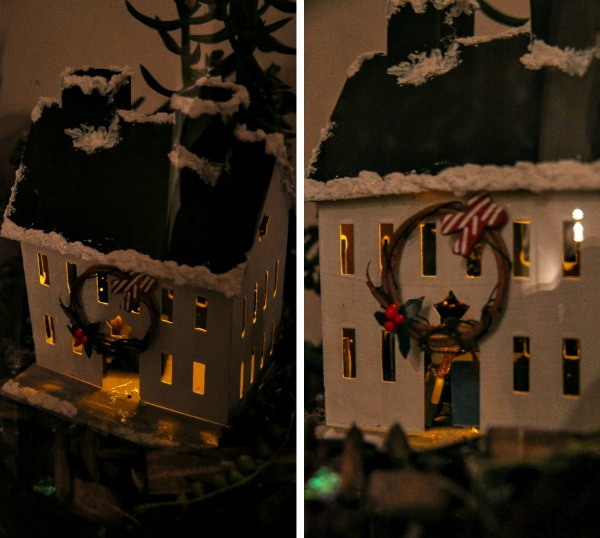
Add a light to the house so it lights up at night. Using a piece of double-sided velcro, attach a small flameless candle inside the roof of the house. At night, lift the tin house, pull the candle out, flick the switch to the ‘on’ position, and light up the house so you can see the Christmas tree and presents inside.
The kids absolutely love this addition to our holiday decor.
Don’t forget to check out the Consumer Crafts blog, Crafts Unleashed for great project ideas.
**The giveaway for this campaign has ended.
Please pin this post for later:

I love this! So cute!
I would use it to help make an awesome flag/sign for my son’s lego robotics team to carry at the next competition.
I would make birthday cards.
Thank you Danielle