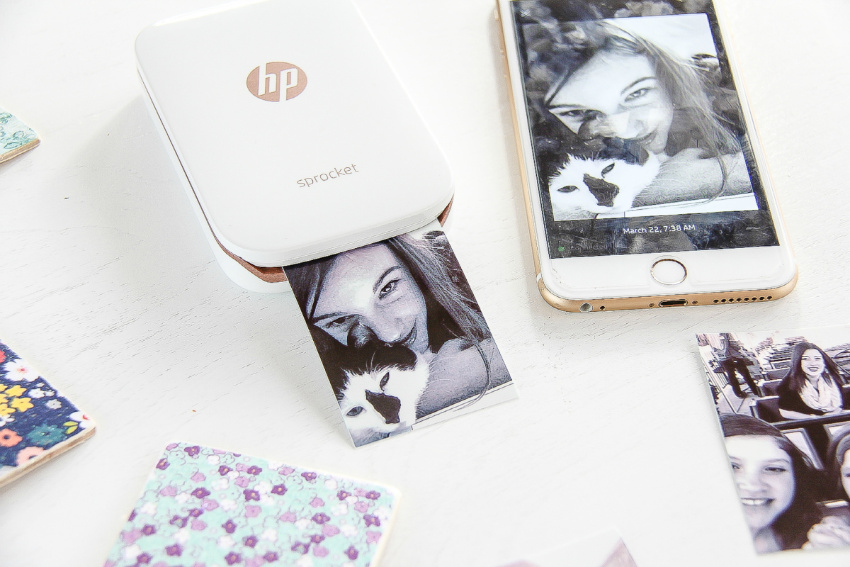
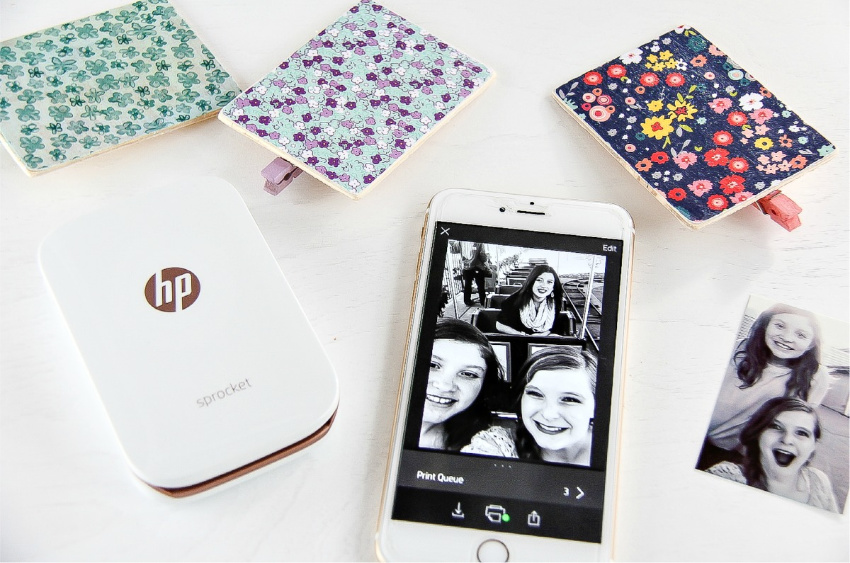
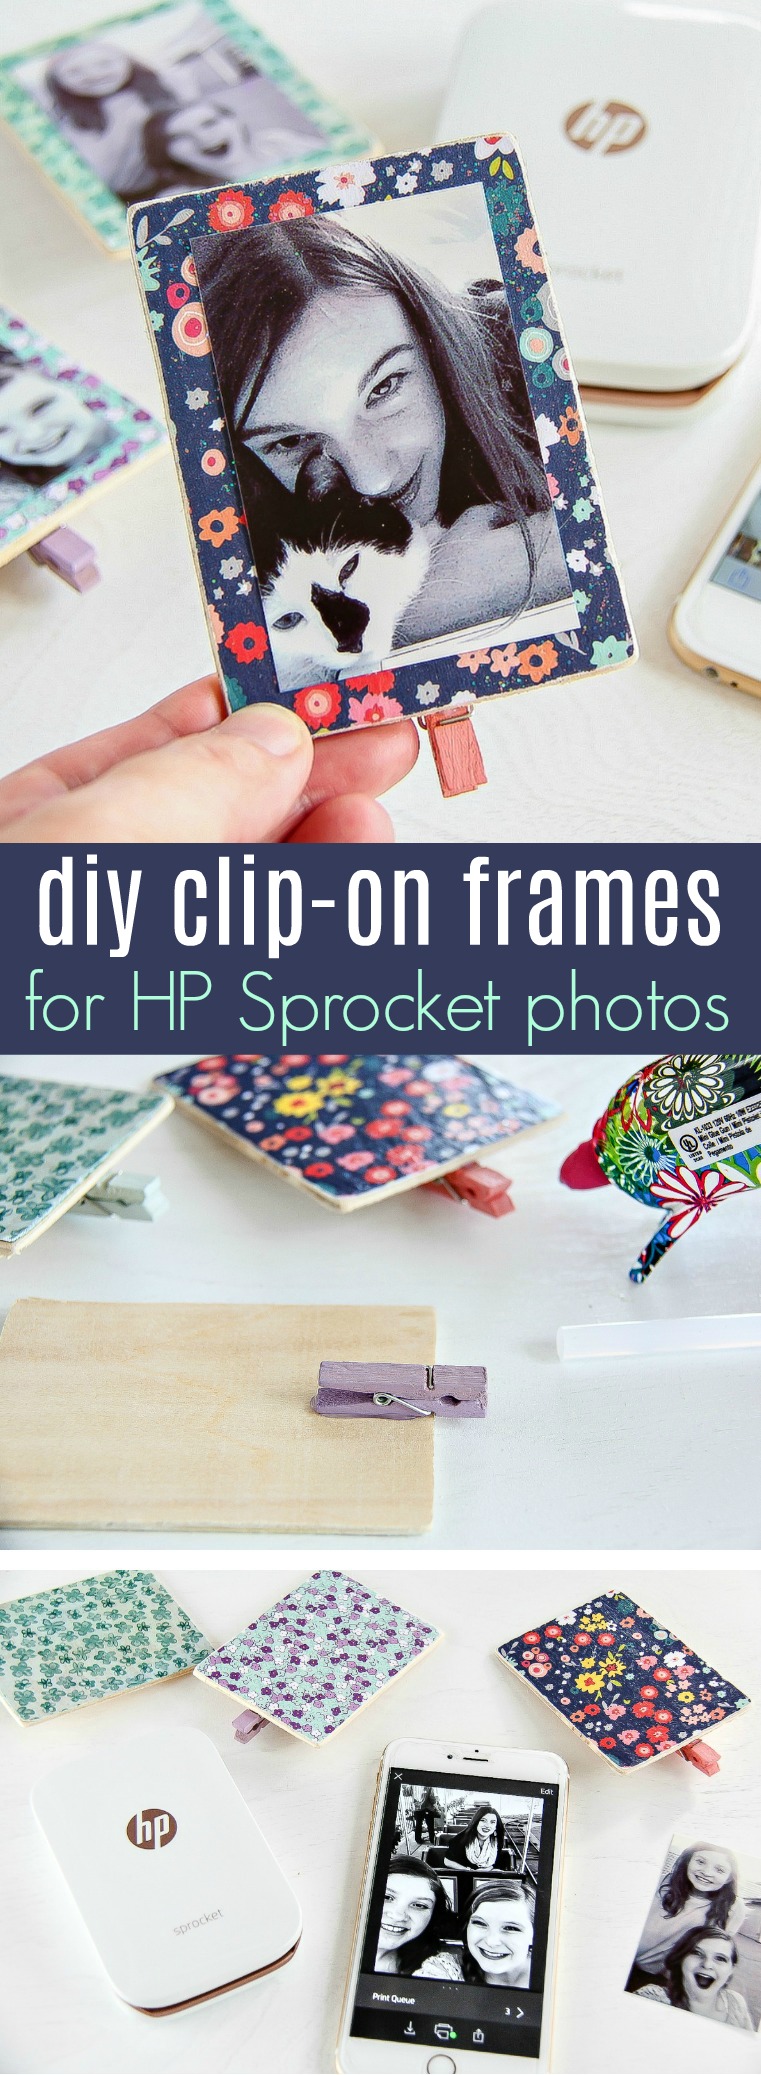
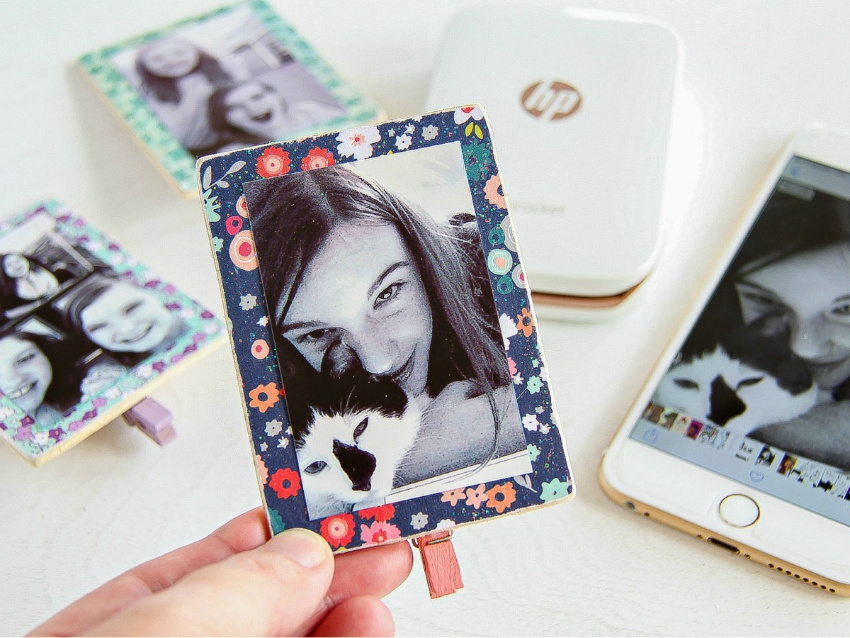
These DIY mini wood clip-on frames are a perfect way to show off your HP Sprocket photos.
I’ve shared with you previously our love for our HP Sprocket. In full disclosure I am on the team providing content for the MyPrintly site each month which means I get fun equipment to play with, including the HP Sprocket. Which we now have 2 of. Marisol decided the first one I received was going to be hers and she hasn’t stopped printing out little stickers ever since, so thankfully they gave me a new one recently which I’ll be sure to share content with soon. But for now, Marisol has been printing, so we’ve been finding creative ways to showcase her prints. I’m over at MyPrintly today showing you how to make mini clip-on frames. I plan on making more for the wire notice board in my office next.
Note: This project was originally created for Hewlett Packard’s MyPrintly website however that site has been taken offline. You can find some of the video tutorials on the HP YouTube channel.
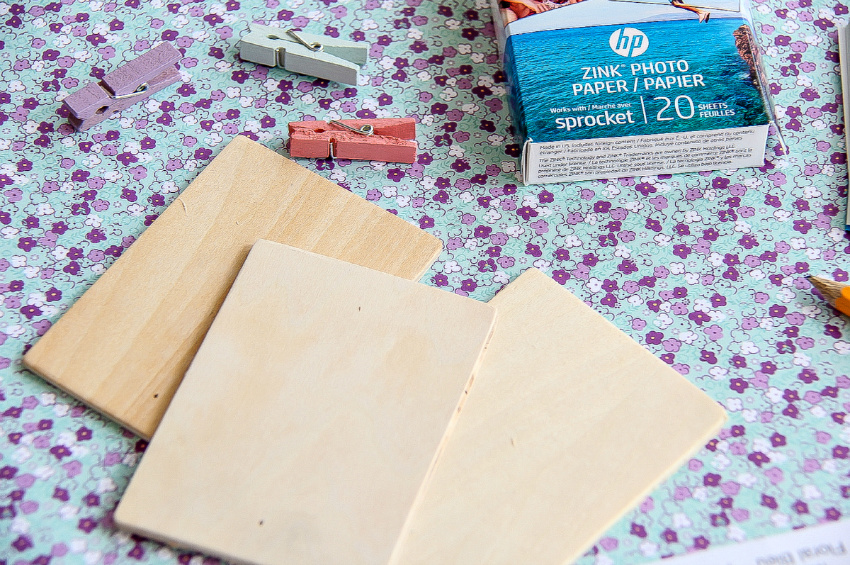
What You Need to Make Mini Clip-On Frames
- Mobile phone with camera
- HP Sprocket Photo Printer
- HP ZINK Sticky-backed Photo Paper
- HP Sprocket App
- Wood rectangles – which you will find at craft stores in 2.5″ x 3.5″ making them a little larger than the Sprocket Photo Paper
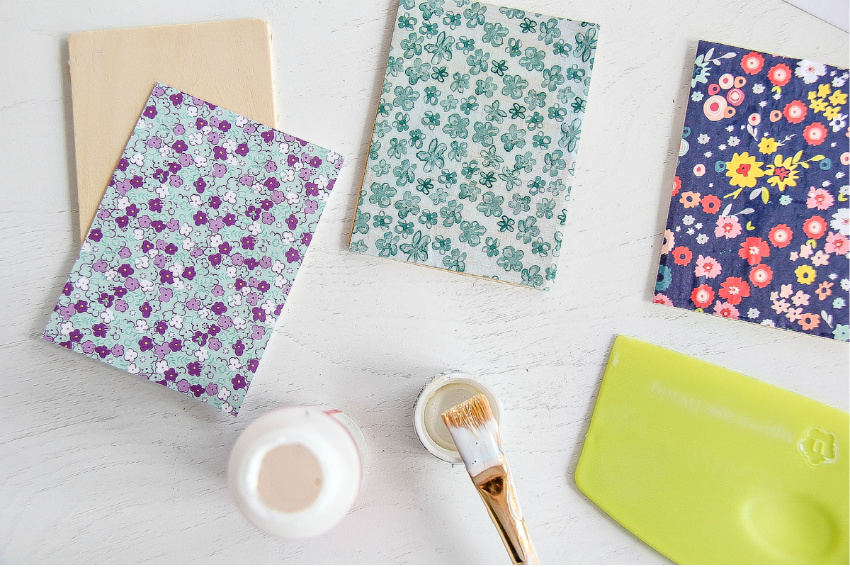
- Pretty scrapbook paper
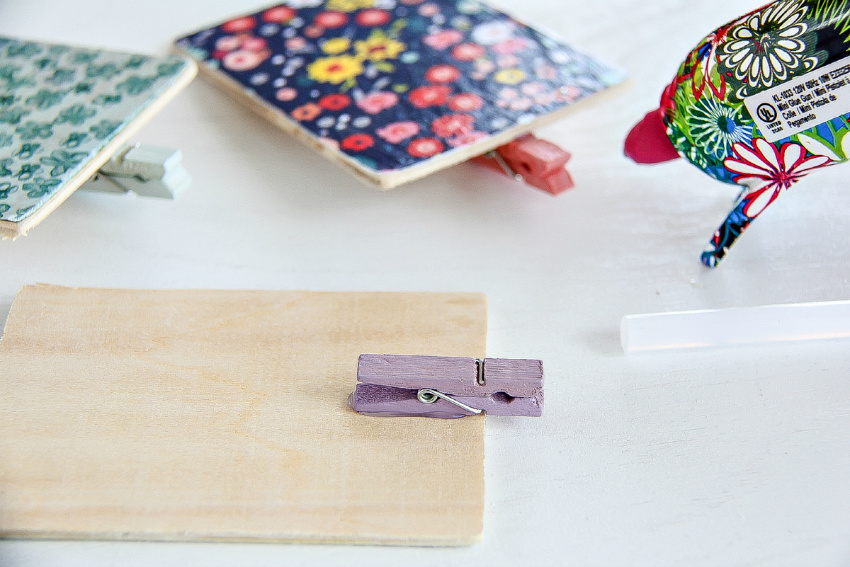
- Pegs
- Hot glue, decoupage glue, sandpaper, and scissors
How To Make Mini Clip-On Frames
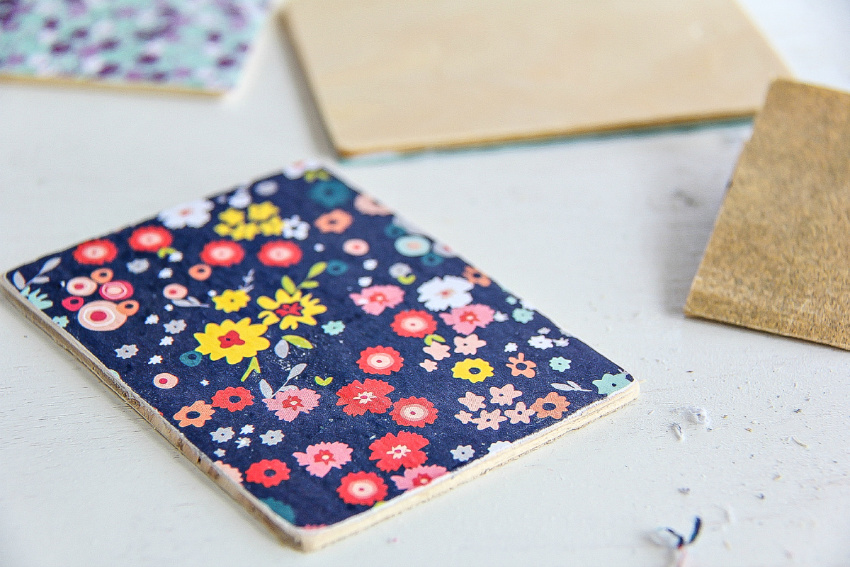
Cut scrapbook paper to the same size as the wood rectangle, and glue it on using decoupage glue. Sand down the edges once dry, and then add a layer of decoupage glue over the top.
Once dry, attach pegs to the back of each pretty frame using hot glue.
Make sure your HP Sprocket is charged, and filled with HP ZINK Stick-backed Photo Paper, and then using the HP Sprocket App print the photos you want to stick to the frames.
Please pin this post for later.

