
Make this easy DIY rhinestone tank top for kids and adults. It’s perfect for festivals, 4th of July, or just hanging out all summer long.
I’m a collector of cheap shirts. Whenever I see plain shirts or tank tops on sale that will fit the kids I always pick up a couple in a size that will fit them now and the next size up. We use these to decorate our own fun shirts for the kids to wear; it’s so much cheaper than buying pre-printed/decorated shirts, although we do occasionally purchase those too if we find them on clearance.
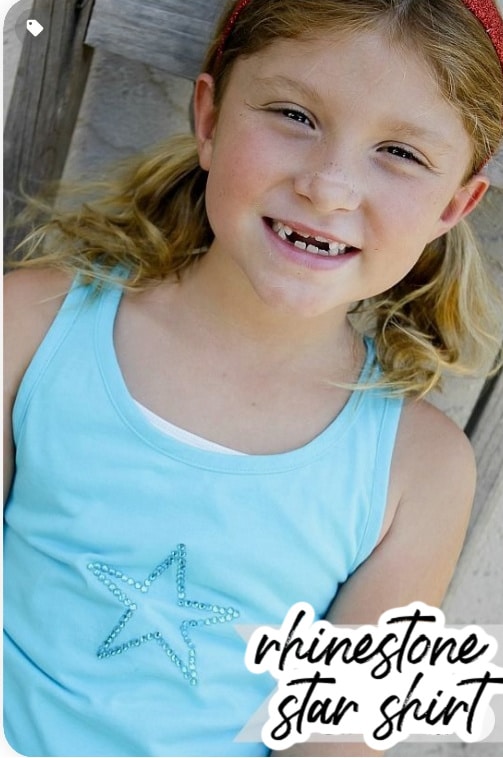
This cute blue racerback top was $5 at Target and has a bow on the back. I thought it needed a little bling on the front too, and at the moment M is all about that.
How to make a rhinestone tank top
Supplies
- Shirt
- Rhinestones – I used a David Tutera rhinestone shimmer sheet
- Jewel-It (embellishing glue)
- Cardboard (or something similar that is flat and will fit inside the shirt)
- Star stencil or cookie cutter
Instructions
Place a piece of cardboard inside the shirt so that glue doesn’t stick the front and back of the shirt together.
Place a star stencil on the shirt, and then using the Jewel-It embellishing glue, trace around the inside of the star. Put a small amount of glue on each rhinestone and attach them to the star. You could also use a fabric marker to trace around the stencil if you like, but using the glue saves you from having to purchase a fabric marker too.
The glue dries fairly quickly and according to the package is permanent through repeated washing.
And, this little girl loves her new blinged shirt.
More DIY shirt ideas
Do you have a t-shirt that you want to refashion? Here are some fun ideas.
