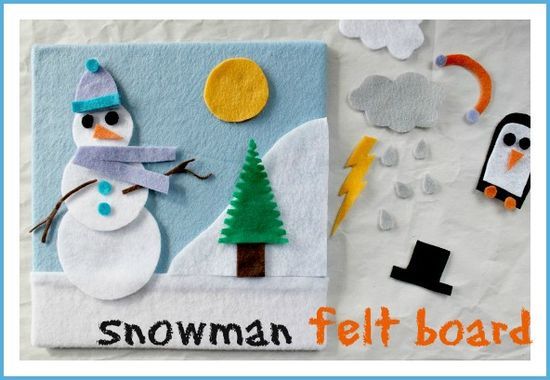
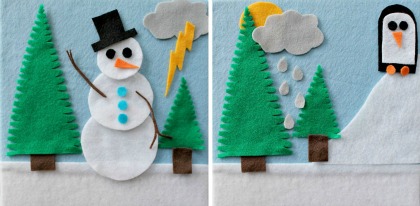
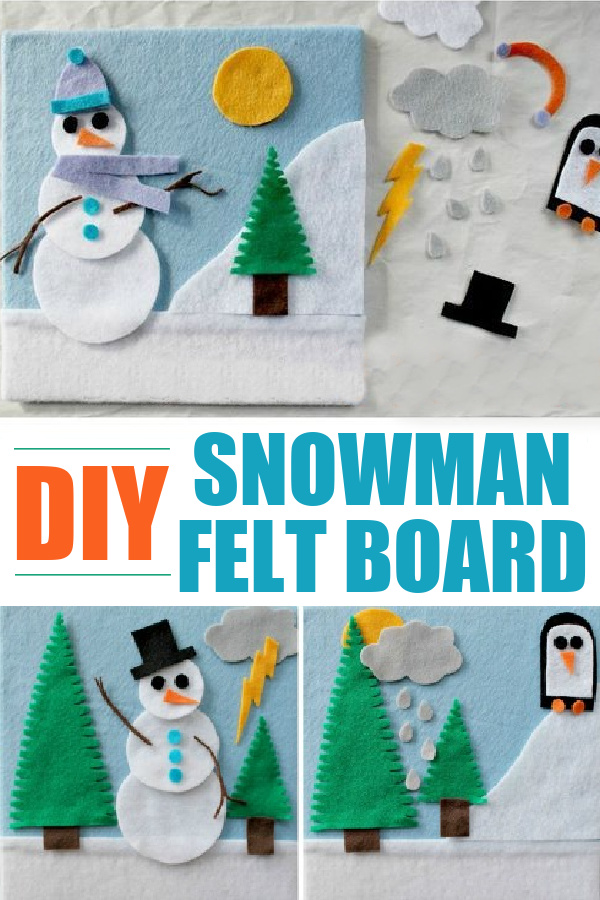
Kids are going to love this DIY felt board snowman craft this winter. They can make winter scenes over several boards to tell a story.
Winter has well and truly settled in. If you are looking for an indoor activity on those cold, and rainy days, have kids create their own winter story with a DIY felt board.
Note: This project was originally created for the website Rusty and Rosy, however that website is now offline. I have moved all of my content over here.
Felt board snowman craft
Supplies
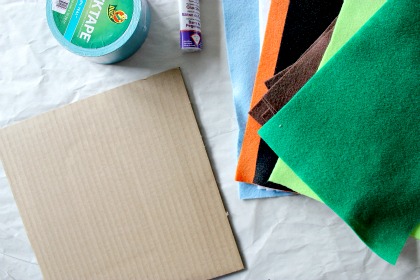
- Cardboard (I used an insert from a box that had been delivered)
- Felt – in assorted colors
- Glue stick
- Duck tape
- Scissors
Instructions
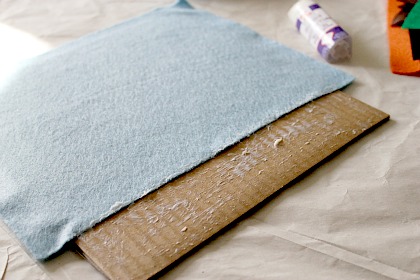
Step 1: Cover the front of the cardboard with glue. Place a sheet of felt over the top leaving a gap of about 2 inches at the bottom for a second color. Lay a second color at the bottom of the cardboard. Smooth the felt over the cardboard with your fingers.
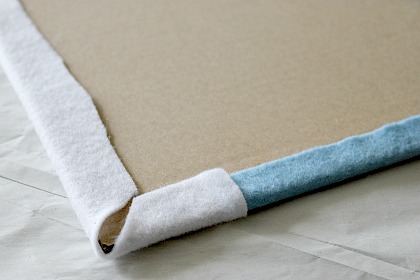
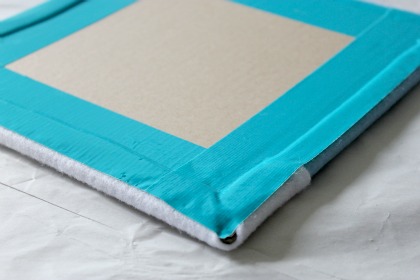
Step 2: Turn the felt board over. Trim the corners of the felt and the length of the felt if necessary. Apply a strip of glue around the edge of the cardboard and fold the edges over, sticking them down as you go.
Step 3:
Using Duck tape, tape down the edges of the felt on the back.
Step 4:
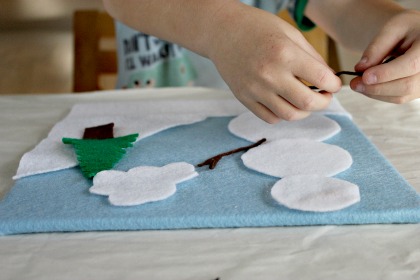
Cut out a variety of shapes and winter-themed felt pieces so that the kids can create different winter scenes depending on where they are, or what the weather outside looks like.
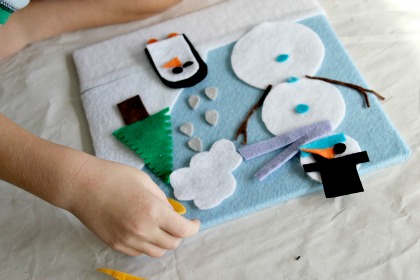
Tip: Create two or three boards so that kids can create a scene and tell a story.
Are you looking for more snowman crafts this winter? Take a look at these ones:
Please pin this post for later:


If you haven’t joined Creative Crafts Thursday yet, please share your projects at http://www.creativecraftsthursday.blogspot.com each and every week!
Thank you for the link Jennifer. I've just added it to my list.