
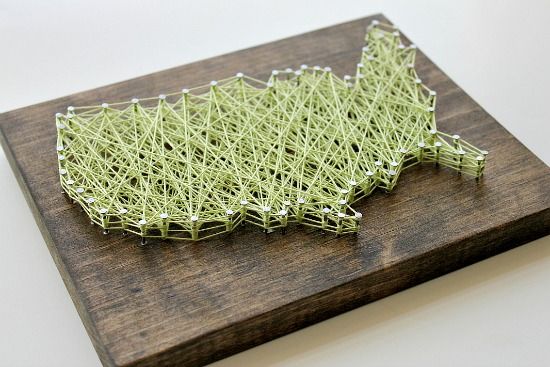
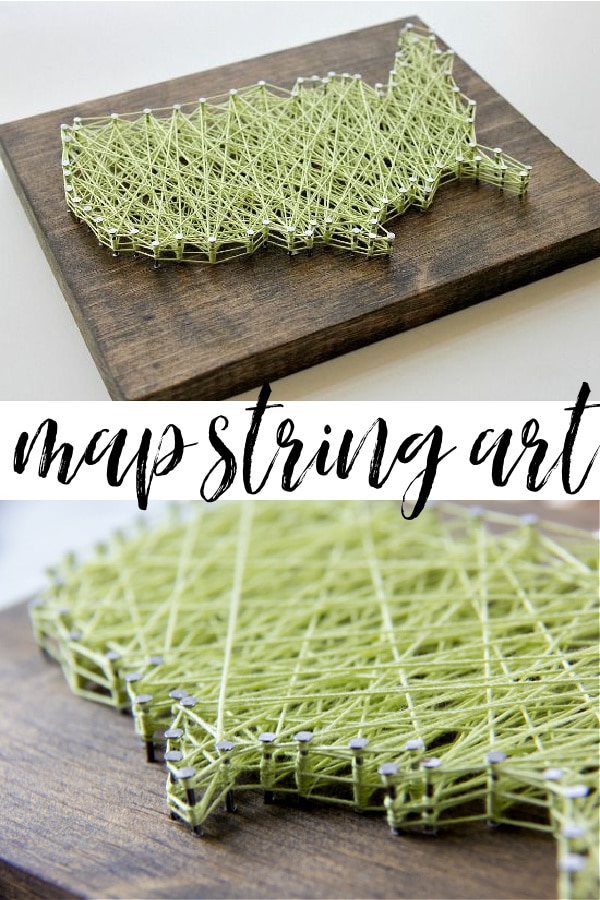
Have you tried making string art? We are showing you how to make a simple string art map to hang on your wall. This makes a great gift too.
Last weekend I attended the Elevate Blog Conference, for the second year in a row.
Aside from speakers, lunch, and mingling with like-minded ladies, there were also fun projects for us to do together.
One of those projects was to make string art. I spotted a sketch of a USA map and thought it would be perfect for Flynn’s bedroom.
Supplies
- Wood block
- Nails
- Hammer
- String
- Printout of an image you want to make
- Scissors
Instructions
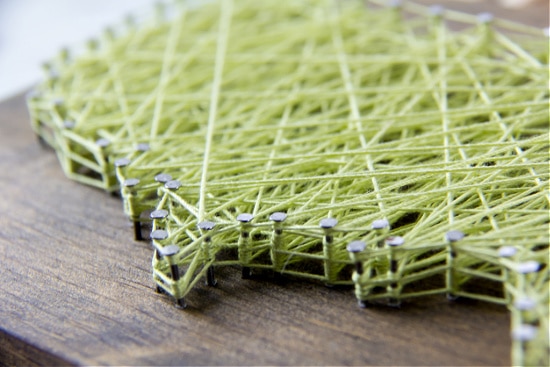
Cut out the image and place it on top of the wood. Gently hammer nails around the image so they are fairly close together. Pull the paper off the nails and discard. Tie string around one nail and then go back and forth around all of the nails. There is no right or wrong way to do this, you just want to fill the empty space inside the nails.
Tip: wind the string clockwise around the nails so that the string is on the outside of the nail when you are just going around the outside.
Looking for more string art ideas? Try these:
Please pin this post for later:

Love this project and would love to have this on my walls =)
Okay I am gonna need one of those. Can you buy them pre-nailed or do I have to somehow create this from scratch?
I think you did need one of those, but yes, you are going to have to do it the old fashioned way and hammer those nails in. Another tip is making a little heart of nails in the location you live.
I think this could quickly become a new obsession – because I need another one right :).
This looks so great! I feel like even a beginner like myself could do it pretty easily. Did you use a stencil? You could probably get almost any image you wanted for the silhouette right?