
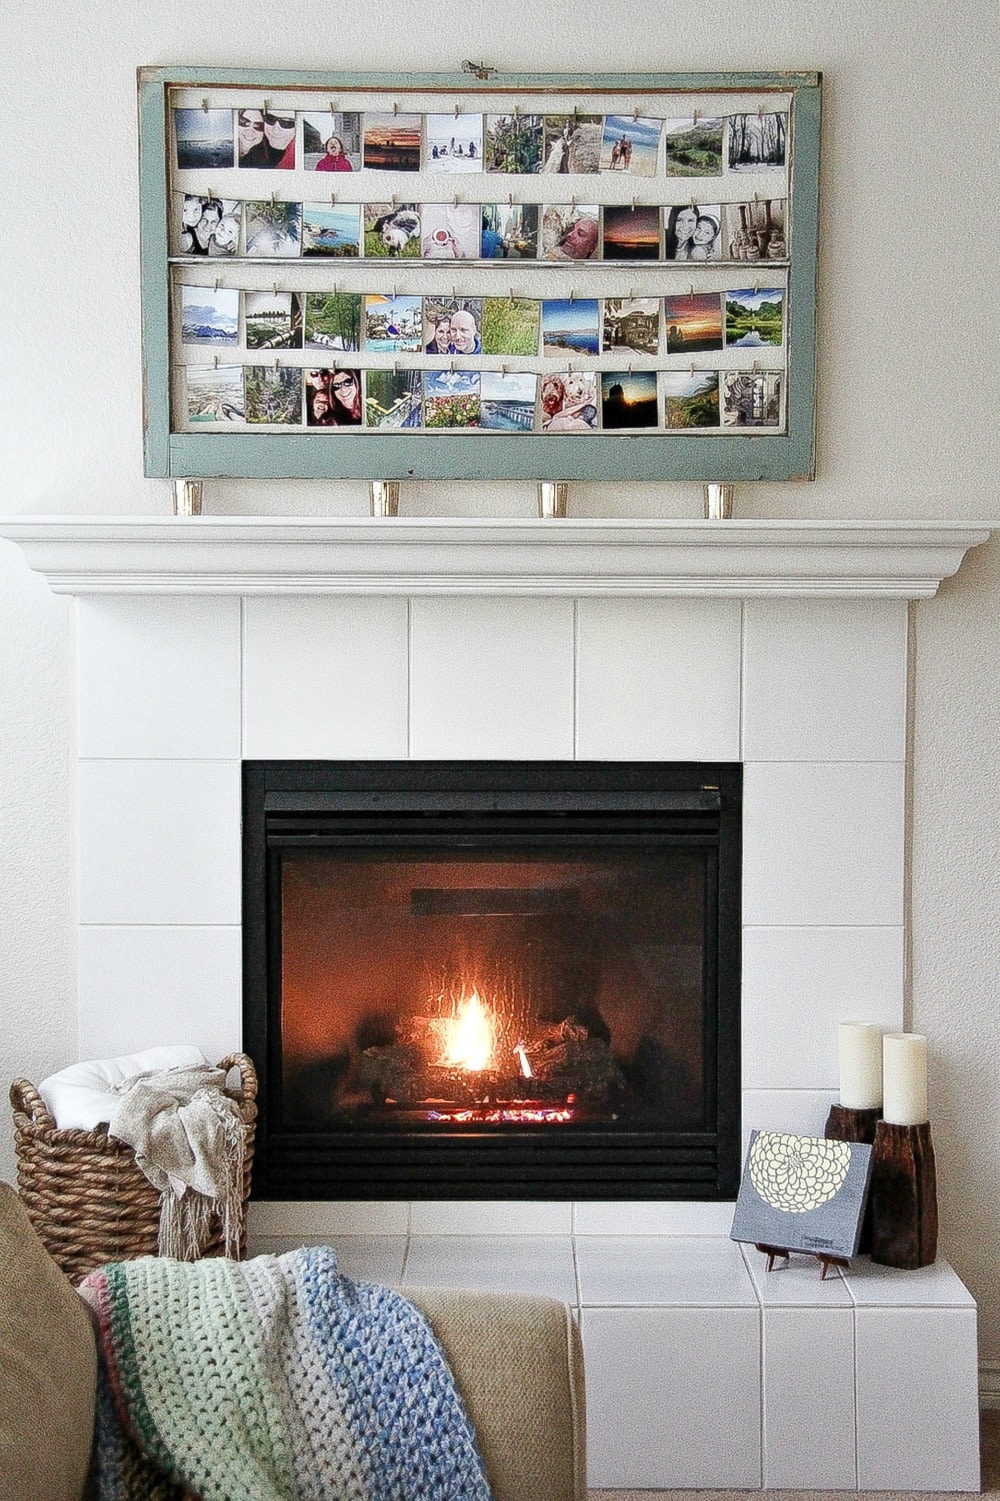
We show you how to turn a salvaged window into a beautiful way to display your favorite Instagram or square photographs with this easy tutorial.
Instagram has got to be one of my favorite social media outlets. I use it every day to share things that make me happy, my latest DIY projects, and of course, places we go.
What I didn’t like though was only seeing my photographs on Instagram, I wanted to put them on display in our home instead of them living in my phone.
One day when I was wandering around one of my favorite architectural salvage stores I had an idea to use an old window as a frame. I could display quite a few photographs and rotate them out as I print new ones. I had previously purchased windows from this store to use as backdrops for party tables and various DIY projects. Below, I’ll take you through the steps to turn an old window into a frame that’s perfect for displaying your latest Instagram photos.
Note: This project was originally created for Hewlett Packard’s MyPrintly website however that site is no longer online. You can still find some of the MyPrintly projects on the HP YouTube channel.
How to turn a salvaged window into a photo frame
The window I found had been painted blue but it was only $15.
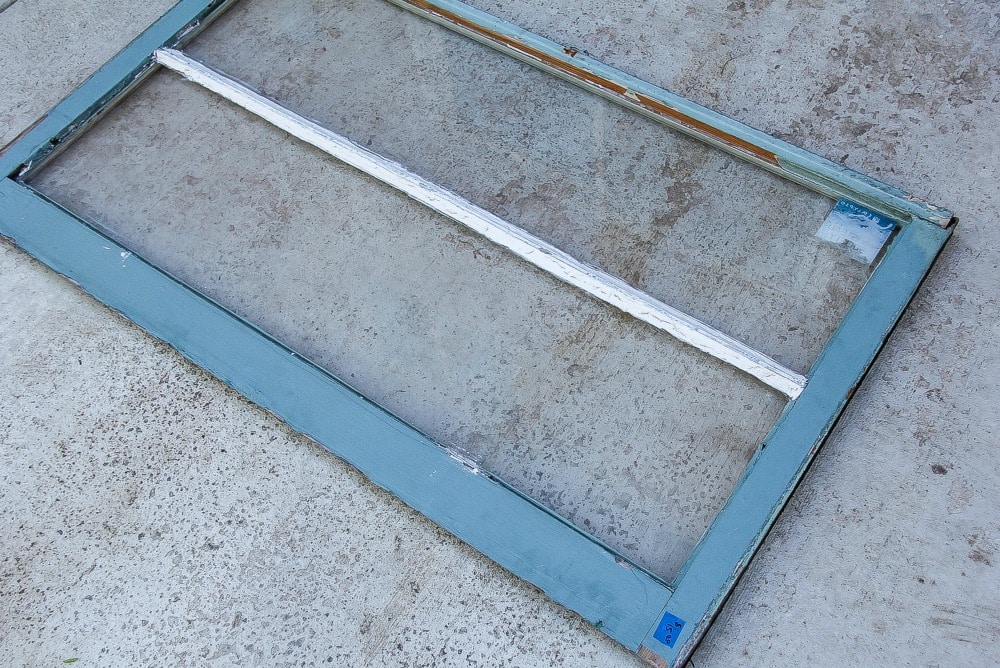
Step one is to remove the glass and sand rough edges while still leaving it looking weathered.

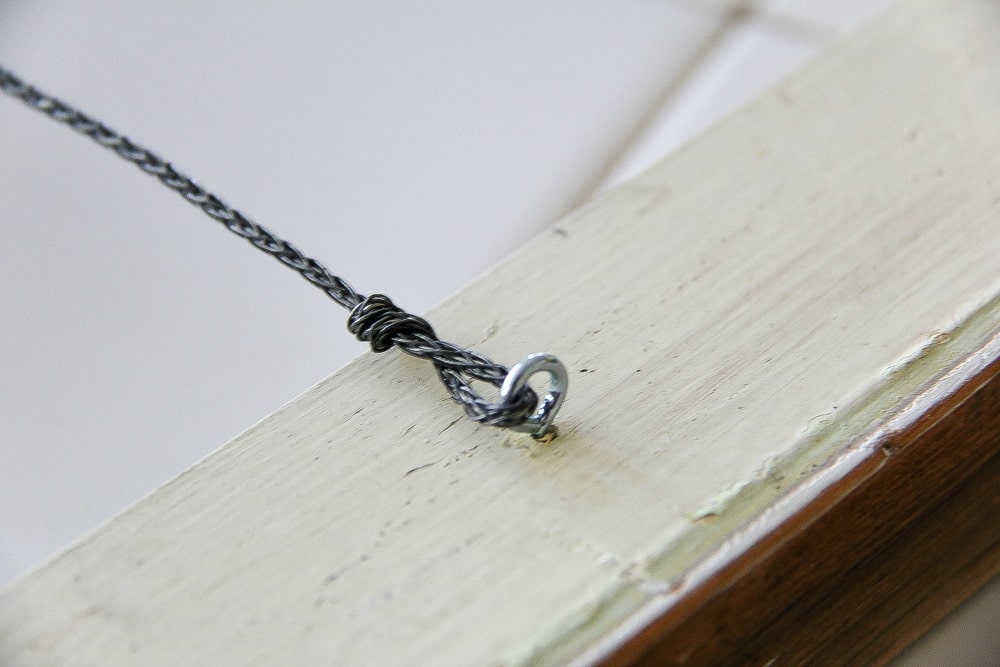
Clean up your frame and then run wire across the back securing it with small eye hooks at each end.
Next, download your Instagram photographs to your computer from your phone. Measure your frame and work out how many you can fit into a row and the exact size for printing. I found printing them as a 5×5 was the perfect size for this frame, they weren’t too small, but small enough that I could fit four rows of ten photographs.
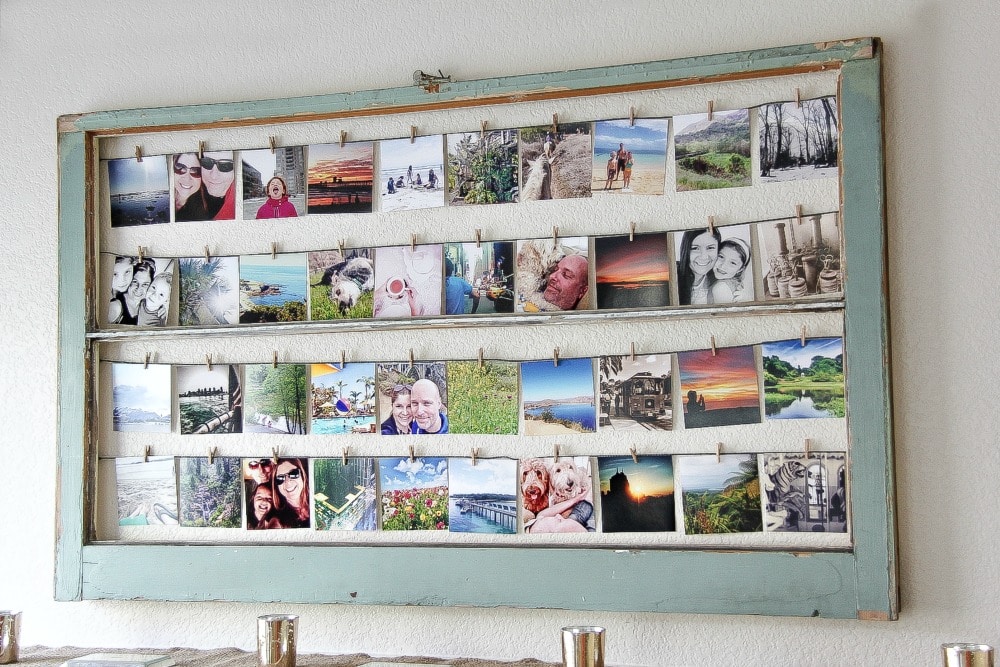
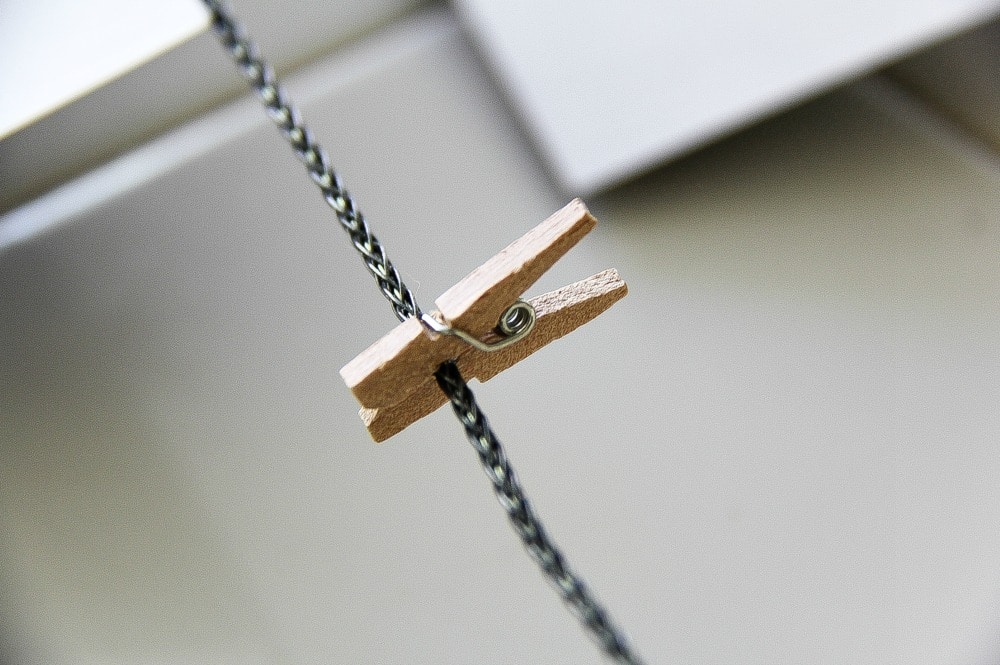
Attach your photographs to the wire using small wood pegs. This makes it easy to rotate the photographs as you print new ones.
My tips
- Write the date and details of each photograph on the back so that as you replace them you can pop them straight into an album.
- When hosting celebrations at home, or decorating for holidays, leave your frame up and replace the photographs with themed ones. For example, hang photographs of your children with Santa, or photographs from previous holiday celebrations. If hosting a birthday party for your child, hang a series of photographs from birth.
You don’t have to just hang Instagram photos, resize any of the photographs you want to hang into a square format.
Please pin this post for later:
