
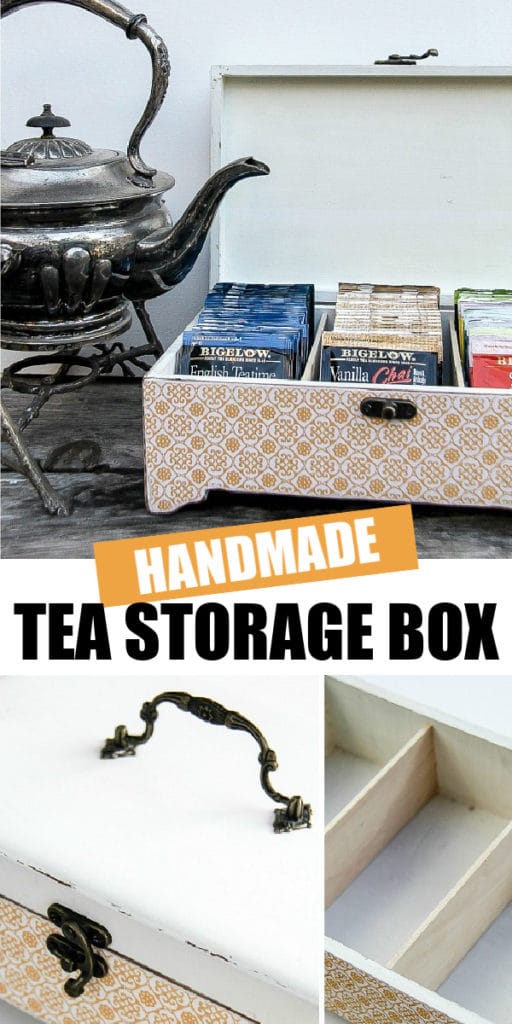
If you love tea, then you will love this handmade box to store your favorite tea flavors. This makes a wonderful gift for a tea lover too.
Disclosure: I am a member of the Collective Bias® Social Fabric® Community. This shop has been compensated as part of a social shopper amplification for Collective Bias and its advertiser. #AmericasTea #CollectiveBias
I absolutely love tea and often enjoy a cup of Chai tea in the afternoon, or in the evening curled up in bed with a good book. If you haven’t tried the Bigelow Vanilla Chai, you really should, it’s one of my favorites. I love peppermint tea when I’m not feeling well, lemon tea when my throat hurts, and green tea, just because. Let’s not forget my love for high tea and Devonshire tea.
I also have the worst kitchen design. My pantry is so small that I can never find a thing in there, which you may remember inspired me to create more kitchen storage. The top shelf of the pantry contains even more baking supplies, tea, coffee, hot chocolate, and various condiments. With tea being all the way in the back, I have to pull everything out just to locate the box of tea I want.
This had to change. I headed to my favorite thrift stores recently, picked up a couple of great boxes for next to nothing, and made myself a tea box.
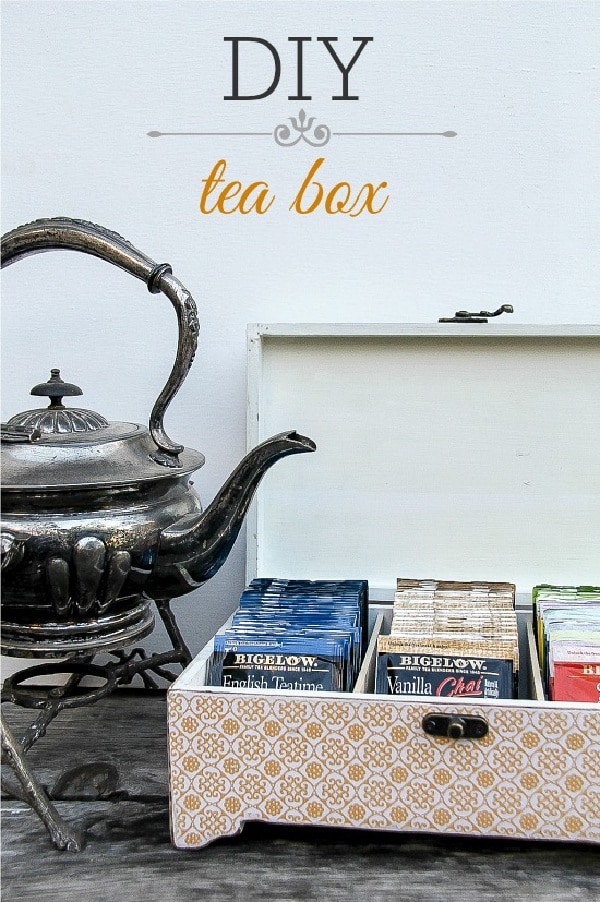
This is a fairly quick and easy project, and perfect for popping your tea on display and within reach. This is particularly great if have friends or family popping over for tea regularly.
What you need
- A box – I found a lightly painted box that was the perfect size for a couple of dollars at a thrift store
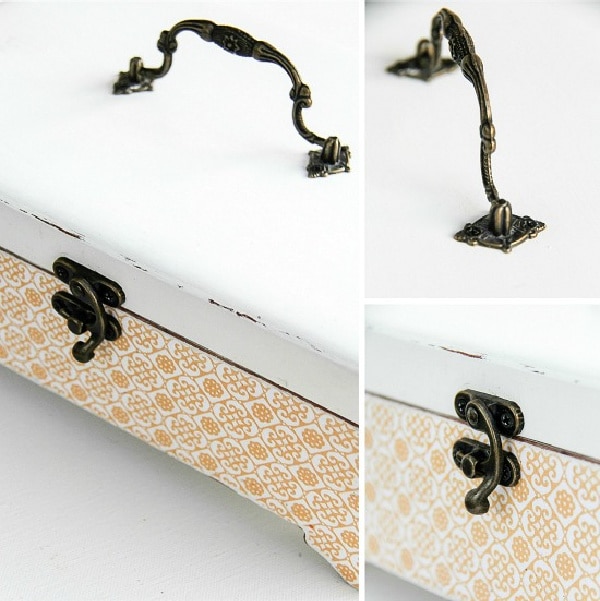
- Hardware – I wasn’t overly fond of the hardware available in stores, so when I came across a decorative box for just a few dollars with the perfect hardware I couldn’t pass it up.
- Scrapbook paper
- Spray paint – only if you need to paint your box
- Mod Podge and a brush
- Balsa wood strip and X-ACTO knife – available at craft stores
- Sandpaper
- Tea
Instructions
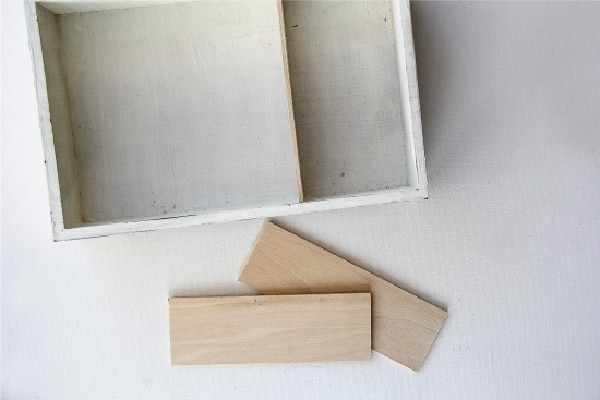
These are the boxes I found.
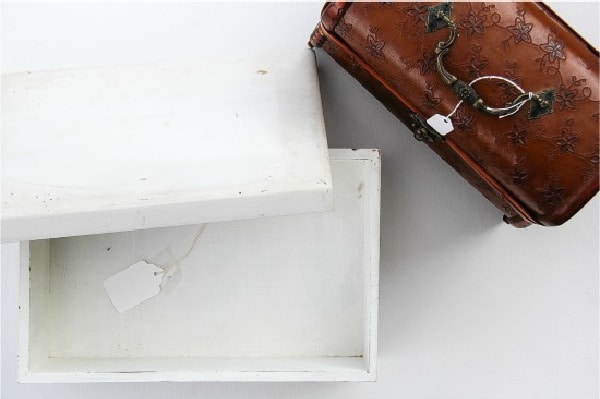
My goal was to use the white box for the tea storage and attach the hardware from the decorative box to it. I removed the hinges, latch, and handle on the decorative box and set them aside.
The next step was to spray a light coat of paint over the lid of the box and set it aside to dry while I worked on the main section.
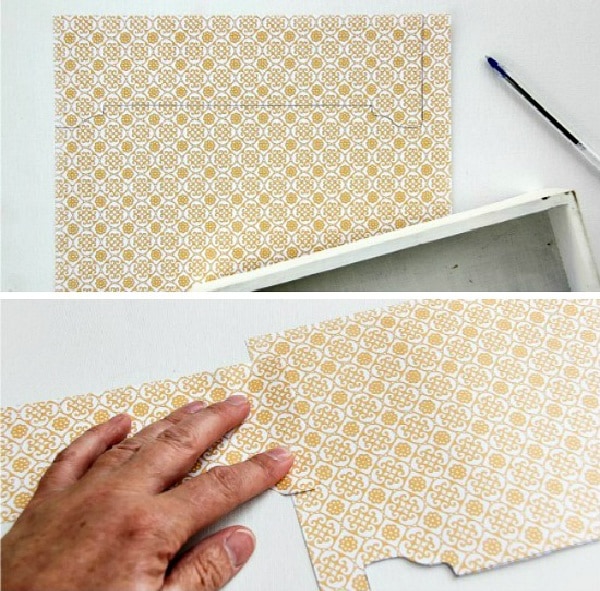
I found a pretty scrapbook paper in my stash that had a fairly simple pattern. It was also in a color that matches my current kitchen and dining room decor. I only needed to cover the sides of the box with the paper so didn’t need very much, this project used 2 letter-sized pieces.
Lay each side of the box on the paper and trace around it. If you want to match up the pattern (which I did for all but one edge) then look at the image below to see how I did it.
Adhere the paper to the sides of the box with Mod Podge. Set aside to dry. Once completely dry, use the sandpaper to go over the edges, exposing them a little. Wipe over the box with a dry cloth and then apply a couple of coats of Mod Podge over the top allowing each coat to dry thoroughly.
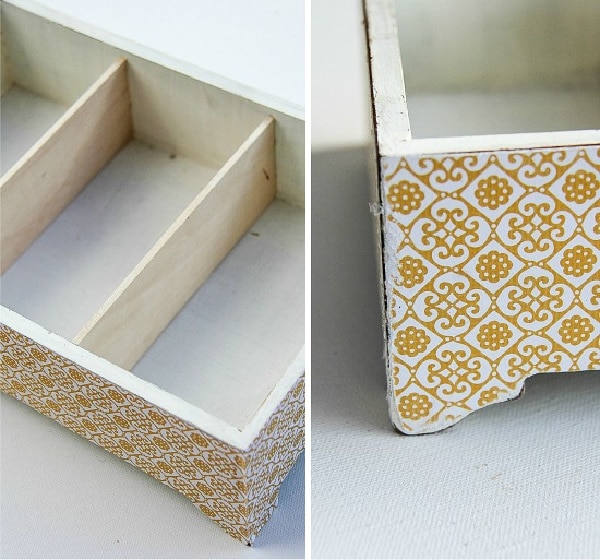
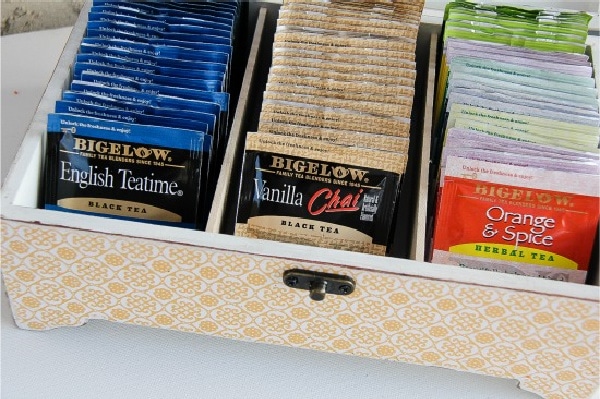
Measure your most used teabag pouches. This will dictate how many sections you can make in your box. I was able to divide my box into three equal sections.
Measure the width of the box and cut two pieces of balsa wood to make dividers inside the box. Glue them in place (see the image on the left above).
Once everything is glued, painted and dried, you need to attach the hardware.
Fill your new tea box with your favorite tea and enjoy.

About Bigelow Tea
Bigelow Tea is a 3-generation, family-owned American company, with quality tea in a foil pouch for freshness, and is available at Walmart where they have bonus packs that contain 4 extra tea bags.
Please pin this post for later:

Your tea box is so beautiful! And I love you used hardware from one box to use on the other….I would have probably accepted the fact that the white one didn’t have any, but you went a step further and it really made a difference! Great job! #client
What glue did you use to adhere the balsa wood dividers?
This tea box is magnificent! I’ll be really happy if you answer Heather’s question about the glue. Thank you for sharing!
I’m so sorry I missed your comment Heather, but I didn’t glue them, I had cut them so they are a snug fit. They haven’t moved at all and I use this tea box every day. However if you do want to glue them, I’d use a wood glue or my favorite glue E6000.
And the only reason I didn’t end up gluing, is because I’m a lazy crafter, I’ll admit it :).
Hi Holly, I can’t believe I missed Heather’s comment so thank you.
Although I suggested gluing, I never ended up doing that with mine. I’d cut them at such a snug fit that I didn’t see any need (and I’m lazy, let’s be honest, and too impatient to wait for things to dry), but this was more advice for anyone who does find they move around. I’d use a wood glue, or E6000 (which is my go-to glue for all projects that will be used on a regular basis).
Very creative of You! But I like it when they are all in the box cluttered. It’s fun when you’re “teaing” the first pack you get your hands on (or you first saw).
P.S. I like the photos. You did a great job with the illustration.
I like the way you clustered them and no need to say you have a good eye for photography
That’s a really fresh idea, I have made one for myself from old pallets… well, with the help of my husband, of course 😉 Maybe I’ll try this one too in a few months!