I love scouring thrift stores for the perfect item to
upcycle. Turning somebody else's trash
into a piece I can treasure leaves me giddy.
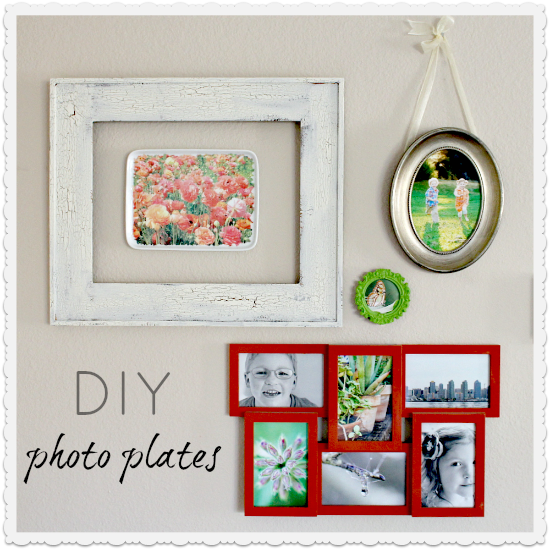
I recently found a plain white dish at my local Goodwill
store for $1.99. I thought it would look
lovely with a photograph printed on it to hang on our wall.
This is a very simple project and all you need are a few basic
supplies (most of which you will already have at home), along with a sheet of
Lazertran Waterslide Decal Paper.
Step 1:
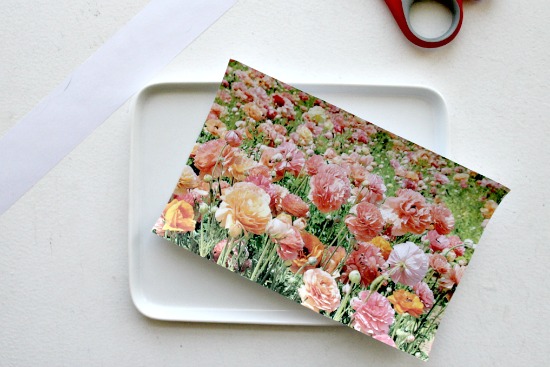
Decide on the photograph that you want to print on the decal
paper. Measure your dish and size the
photograph accordingly on your computer before reversing the image (you will
want to print a mirror image). Print the
photograph on the white chalky side of the decal paper (for an inkjet printer) leaving
the printer settings on 'draft' mode. Set aside to dry for at least 30 minutes.
Step 2:
While the image is drying you will have plenty of time to
prepare everything else you need. Begin
by cleaning, drying, and ensuring there is no dust on the dish. You will also need a paper towel or napkin,
and either a small rubber squeegee or a silicone spatula.
Step 3:
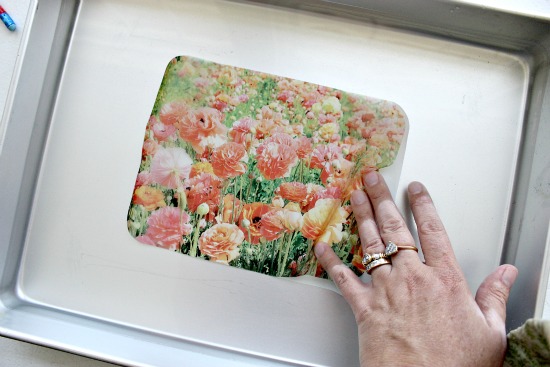
Once the image is dry cut it out. Prepare a baking dish with lukewarm water and
submerge the image. The decal will begin
to peel away from the backing paper, carefully remove it from the water and
place it face down onto the dish.
Step 4:
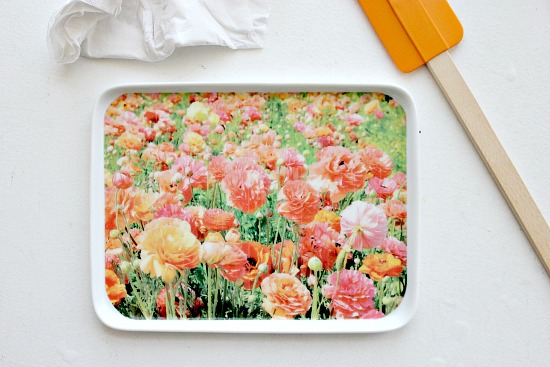
Alternating between the spatula and paper towel press out
any air bubbles and blot all the water.
Once there is no more liquid or bubbles set your dish aside to dry.
Step 5:
My particular dish was not oven proof, and I was not
planning on placing food on it, so instead of baking I used a fine piece of
sandpaper to gently roughen up the edges of the image.
Take the dish outside and spray with a coat
of acrylic finish such as Plastercraft's Acrylic Gloss Spray Finish. Leave to dry overnight.
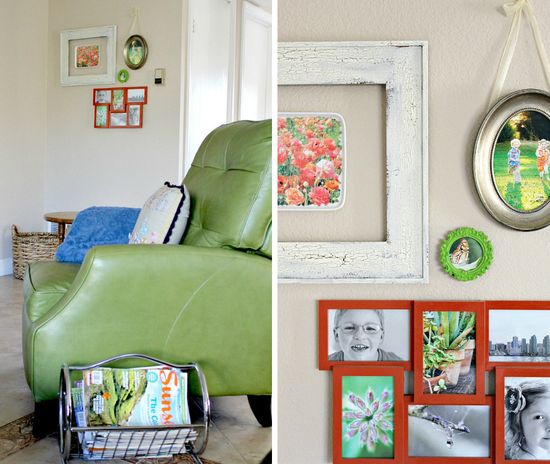
Use mounting tape to attach the dish to the wall. I also painted an old wooden
frame with a crackle finish to surround the plate on the wall

2 comments
This plate is so cute! Thanks for sharing and inspiring me Tonya. I really like your blog have enjoyed looking around. Thanks again.
I love this idea, such a neat idea for presents. I can’t wait to give it a try!