
This knit finger puppet bat is a fun Halloween project that you can make with kids. We have a free finger puppet pattern too.
Bat finger puppet pattern
Supplies
- Black yarn (scraps up to 4ply are fine)
- Red embroidery thread
- Black felt
- Grey felt
- 3mm Knitting Needles
- Sewing needle
Instructions
Using black yarn and knitting needles cast on 13 stitches.
1st row: Knit 1, Purl 1, repeat to end.
2nd – 24th rows: Same as 1st row.
Do not cast off. Cut a long tail of yarn. Thread the yarn onto a sewing needle. Thread the sewing needle through the loops remaining on the knitting needle. Once all loops are off the knitting needle, pull the yarn tight to gather. Sew down the seam and cut off any loose ends. This makes the ‘finger’.
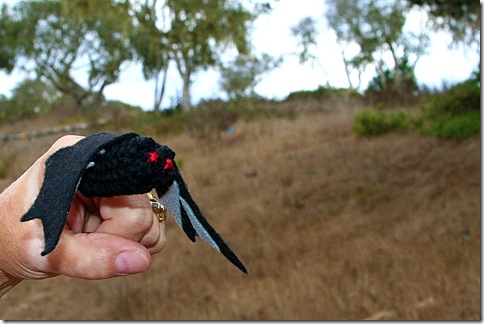
Using any leftover yarn on the sewing needle repeatedly sew a stitch over the top of itself near the fingertip to make an ear. Repeat this to make the second ear.
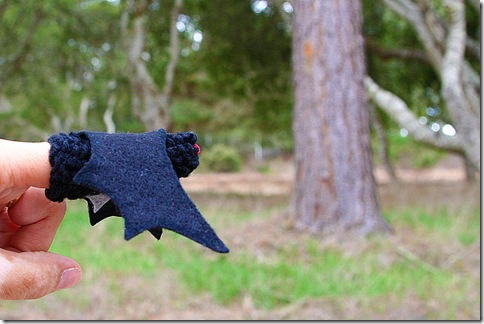
Place the ‘finger’ on a piece of paper and draw the wings. Remove the ‘finger’ and join the wings together. Cut out your template and place it on the black felt. Cut out your wing. Hand stitch it onto the ‘finger’ about 5mm below the ears.
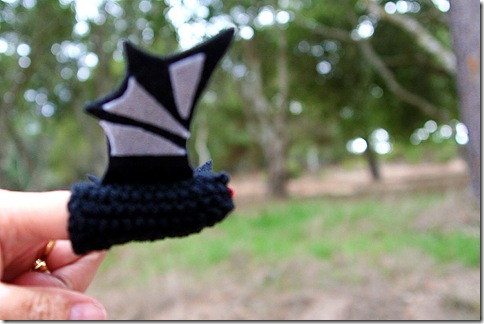
Cut a few odd-shaped triangles from the grey felt and using a strong glue attach them to the underside of the wings.
Using red embroidery thread stitch 2 eyes to the front of the bat.
The beauty of these bats is if you take them outside the wind will pick up their wings. There was a lovely breeze blowing in our backyard today while I was taking photographs, but capturing the movement on a photograph proved to be a little difficult as you can see by the blurry shot below.
Are you looking for more fun bat ideas for Halloween? Check out these ones:
- Pillow box bat treat containers
- Halloween paper bats for decorating your home
- Fun bat-shaped sandwiches and cupcake ideas.
Please pin this post for later:

Super Cute T! Love that idea so I’ll have to give it a try 🙂
I never told you I knitted a scarf! I still long to do crafty knitting projects like this but still need some help. Maybe I can fly up for some private lessons 😉 ?