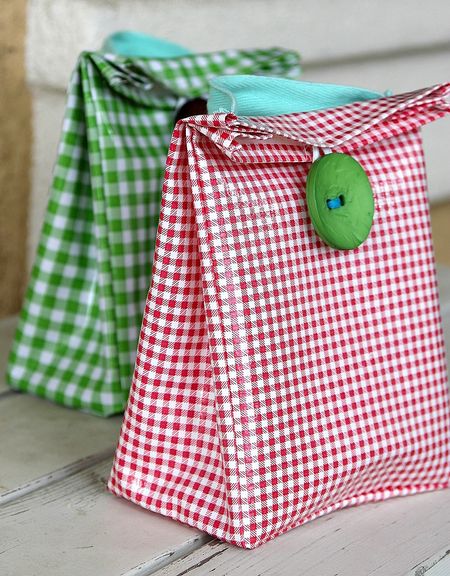
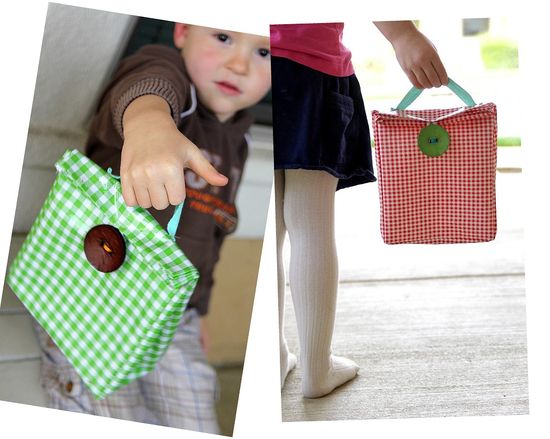
We go on a lot of road trips, the kids have extra curricular activities and there is always waiting around at doctors offices and various other appointments, so taking snacks or lunch with us not only saves us money, but also reduces the number of times we might be tempted by the dreaded (aka unhealthy) drive-thru. We had some adorable little lunch sacks that the preschool teachers gave the twins last year as gifts, but I had wanted to make new ones for a while.

Now, I don’t have a complete tutorial for these, but they are very easy to make; I kind of winged it, as I tend to do sometimes.
I came across absolutely gorgeous handmade lunch bags on The Purl Bee but knew I wanted to use oilcloth (which I had quite a few bits and pieces in my stash, and thought it would be easier to clean) like Skip To My Lou had used to make hers.
So I decided to start measuring and cutting and see what happened.
So this is what I cut:
- 2 9″ x 7″ rectangles (front and back)
- 2 4″ x 9″ rectangles (sides)
- 1 4″ x 7″ rectangle (base)
Using my sewing machine I stitched a hem along the top of each of the side, front and back pieces. I then stitched the side, front and back pieces together. Then stitched the base of the bag on last.
Next, I stitched a small piece of cord elastic to the inside of the back into the shape of a loop.
I handstitched a large button to the front of the bag.
I found some strong ribbon in my stash, hemmed it and hand stitched it using embroidery thread to the top of the back of the lunch bag to make a handle.
And that was it.
AS SEEN ON:
10Marifet.org | iVillage | BabyCenter UK | SheKnows


13 comments
These are darling!!!!
Thank you Kathleen 🙂
These are so precious, Tonya.
Your lunch bags are super cute and I bet they’ve lasted a long time! I have this linked to my oilcloth post as well today, nice job!
Thank you so much Allie
Love your lunch bags. Sharing for “National Picnic Month” on Buttons Galore & More FB Wall.
Love it
MY BABY GRANDDAUGHTER IS STARTING PRESCHOOL THIS YEAR… AND HER MOTHER DIDN’T WANT TO GET HER A LUNCH BOX. GRANDMA WILL BE MAKING HER THIS SNACK BAG…
absolutely love these adorable little bags but got a bit confused when making one. Instructions says on short side to fold half inch and half inch again toward right side an but the diagram shows the hem to be on the wrong side/inside of the rectangle, not on the right side.
Also instructions says to place rectangles right sides together, sew long edges together and to add bias tape to raw edges. What raw edges? and isn’t Bias tape normally stitched to the right sides? I would be ever so grateful if someone would clarify these queries please.
Please ignore my post above…think I’ve got it now!
Congrats on the feature in The Knot!
These are so adorable and practical!
I made some really cute “almost” brown bags from a brown calico print with beige lining, I used an actual brown bag for a pattern and made handles from the webbing I get online for my projects.