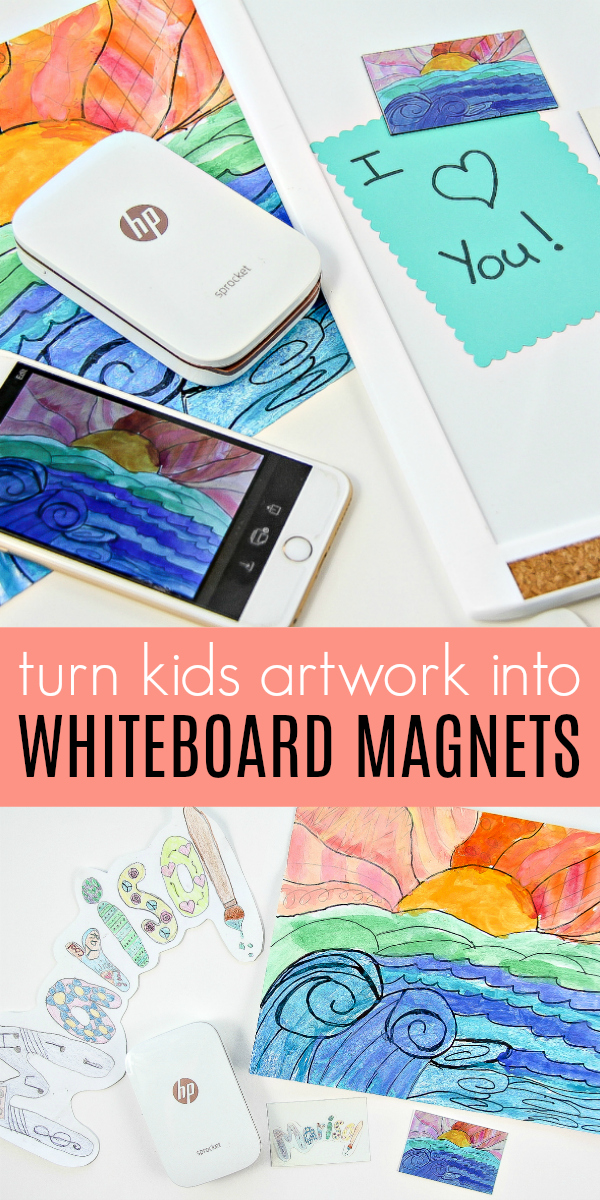
Are you looking for a creative way to display kids art in a small space? We are showing you how to shrink it and turn it into magnets.
Now that school’s out for the summer and the kids have stripped the classroom walls bare of their artwork it’s time to organize it all. Ours is now in a giant pile on your kitchen counter and there’s another pile on the floor next to my office desk.
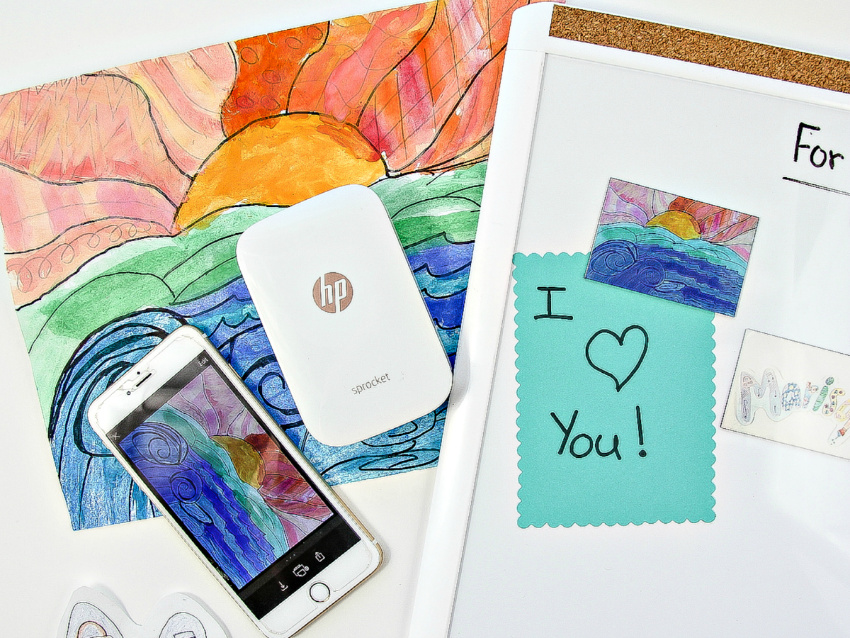
Note: This project was originally created for Hewlett Packard’s MyPrintly website however that site has been taken offline. You can still find some of the project videos on the Hewlett Packard YouTube channel.
Display kids art using magnets
Supplies
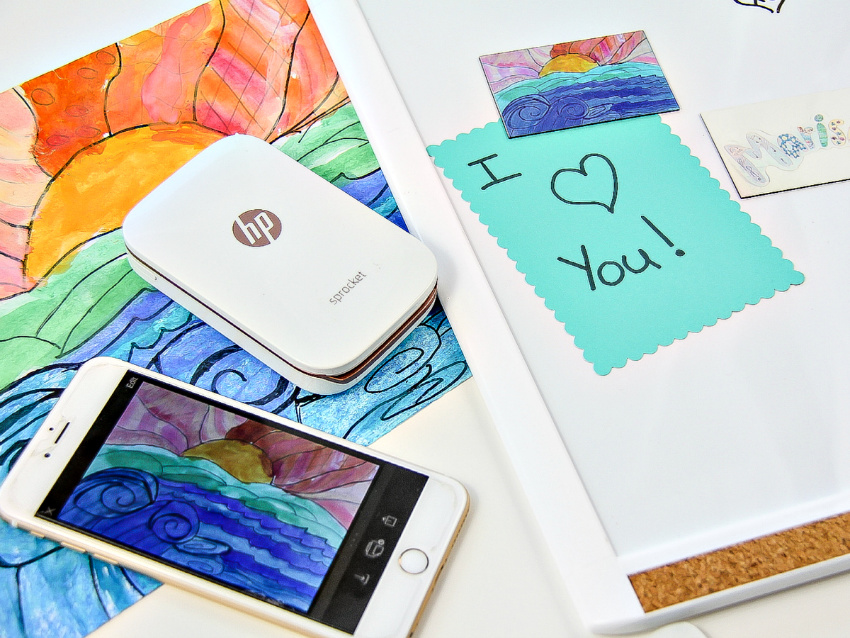
- Cell phone with HP Sprocket App downloaded
- HP Sprocket Photo Printer
- HP ZINK Sticky-backed Photo Paper
- Kids artwork
- Magnet sheets
Instructions
Begin by taking a photograph of your child’s artwork on your smartphone.
Open the HP Sprocket app and print the photo on the HP ZINK sticky-backed photo paper.
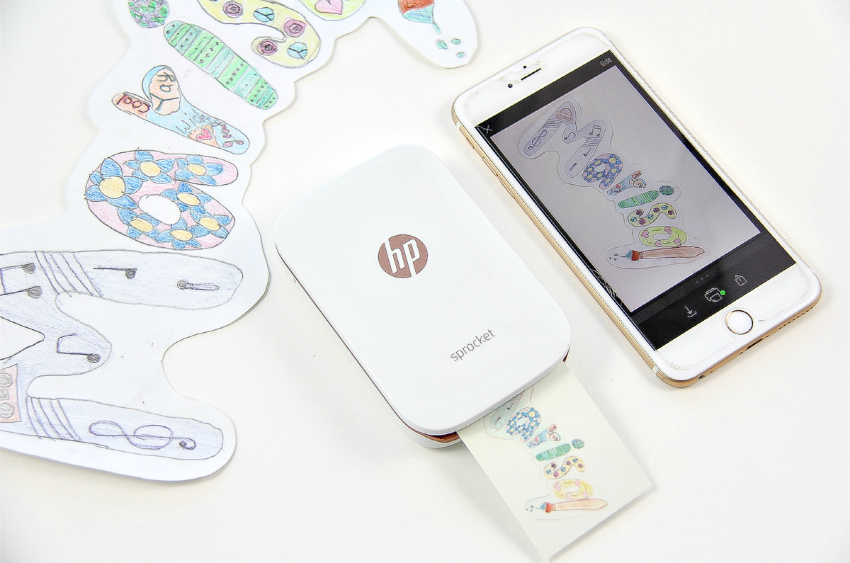
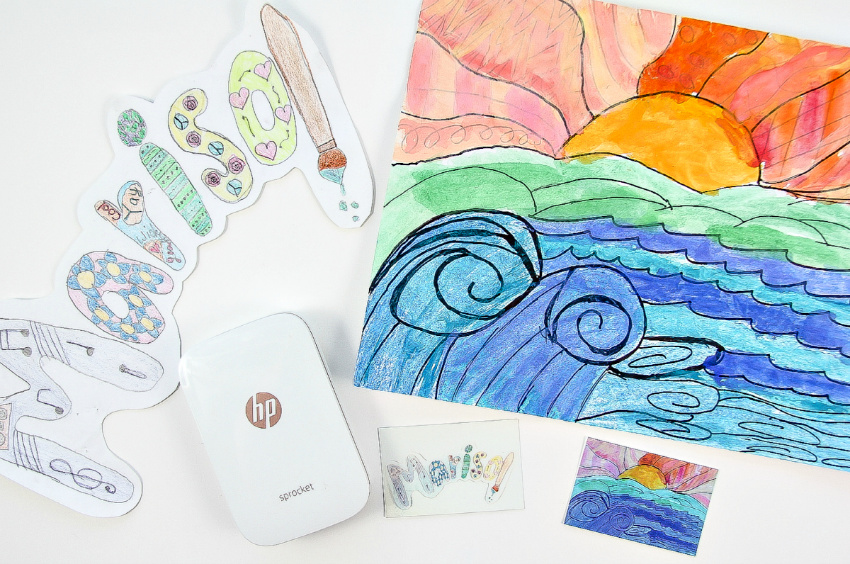
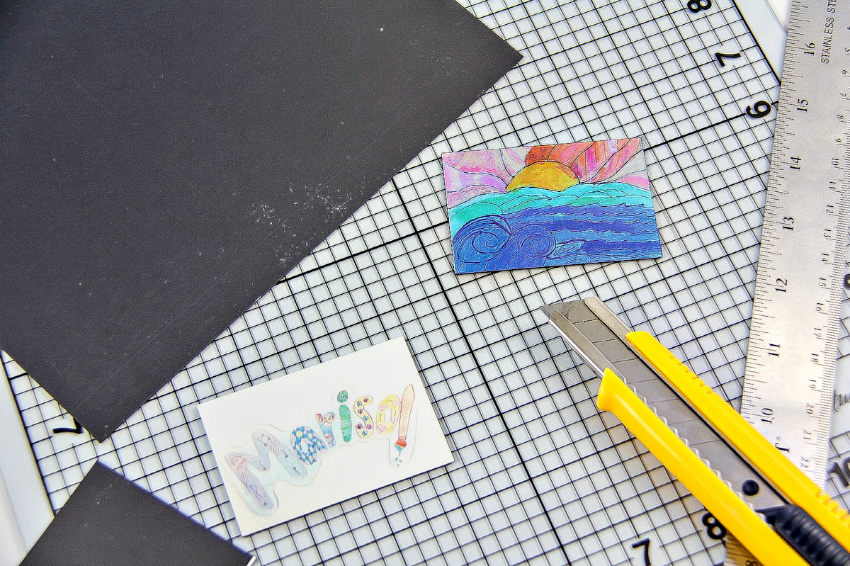
Peel the backing off the photos and place them onto magnet sheets. Cut out your new magnets and stick them on the fridge or a whiteboard. It’s really that easy!
Are you looking for more creative ideas for displaying your kids art? Take a look at these:
- Wood pegs and twine to display kids art is a quick and easy fix for your play room.
- Burlap and vinyl pockets to hang on the playroom wall are perfect for rotating kids art.
- Make fun jewelry using your kids art to display it in a creative way that you can wear.
- Kids can also wear their own art with this fun craft project.
- A coffee table book is the perfect way for everyone to see your kids art year after year.
Please pin this for later:
